You can help support this website by buying me a coffee!

How to create a Windows 10 Virtual Machine using Azure CLI
In this example we are creating a Windows 10 Enterprise 21H1 VM in a resource group with an existing VNet
Resource group: prod-ukw-core-rg
VNet: prod-ukw-core-vnet
Subnet: subnet01

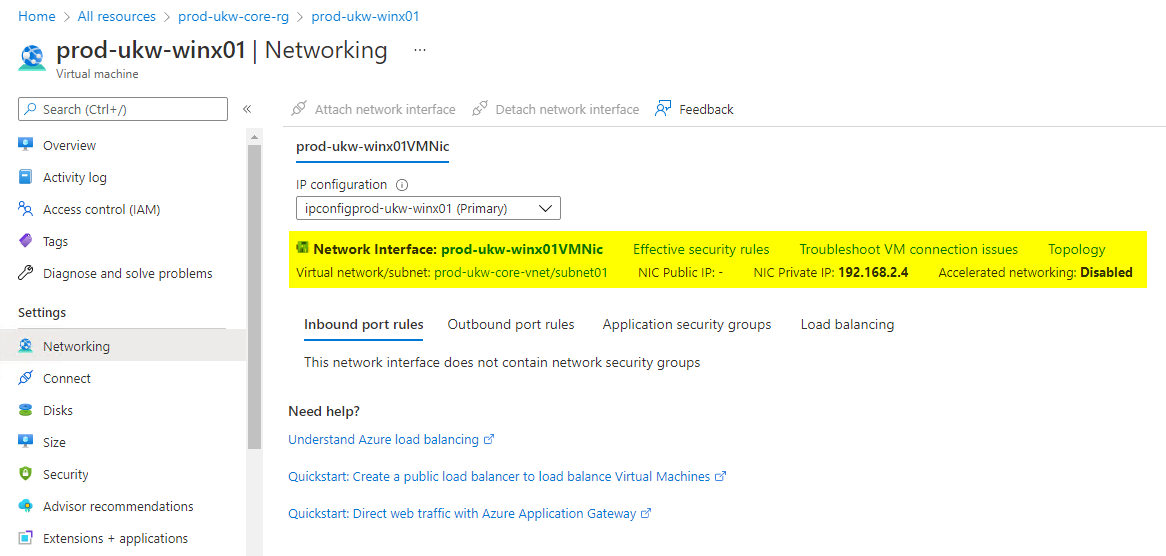
Private IP address
Because we are not specifying a private IP using the --private-ip-address option, the VM will use dynamic IP addressing.
Public IP address
To create a VM without a public IP address, you can specify an empty variable for Public IP.
--public-ip-address ""
Network Security Group (NSG)
We are not creating a Network Security Group (NSG) for the VM because we already have an NSG attached to the VNet subnet. Again using an empty variable for nsg will create the VM without one.
--nsg ""
VNet and subnet
You can specify the Vnet name and subnet using the --vnet-name and --subnet options
Don't wait for commands to finish
If you add the --no-wait parameter Azure CLI will not wait for a command to finish running before accepting another command.
Using --no-wait allows you to execute multiple commands in a row. Azure CLI will continue running the command operations in the background, making it faster to deploy multiple virtual machines simultaneously.
Storage SKU options
# define vm variables
vmName=prod-ukw-winx01
rgName=prod-ukw-core-rg
image=MicrosoftWindowsDesktop:Windows-10:21h1-ent:latest
adminuser=cfadmin
adminpass="PASSWORD"
vnetName=prod-ukw-core-vnet
subnet=subnet01
storageSku=StandardSSD_LRS
size=Standard_D1_v2

az vm create \
--name $vmName \
--resource-group $rgName  \
--image $image \
--admin-username $adminuser \
--admin-password $adminpass \
--vnet-name $vnetName \
--subnet $subnet \
--storage-sku $storageSku \
--size $size \
--public-ip-address "" \
--nsg "" \
--no-wait

Reference:
by Author
Azure CLI - az vm create
https://docs.microsoft.com/en-us/cli/azure/vm?view=azure-cli-latest#az-vm-create
Comments