You can help support this website by buying me a coffee!

To restore an Azure VM from a snapshot, you will need to create a new disk from the snapshot and then attach the new disk to a VM.
In the Azure portal - select Disks

Create

Resource group: your-resource-group
Disk name: new-disk-name
Source type: Snapshot
Source snapshot: snapshot-name
Change size: 128GB Standard SSD
Review and create

Create

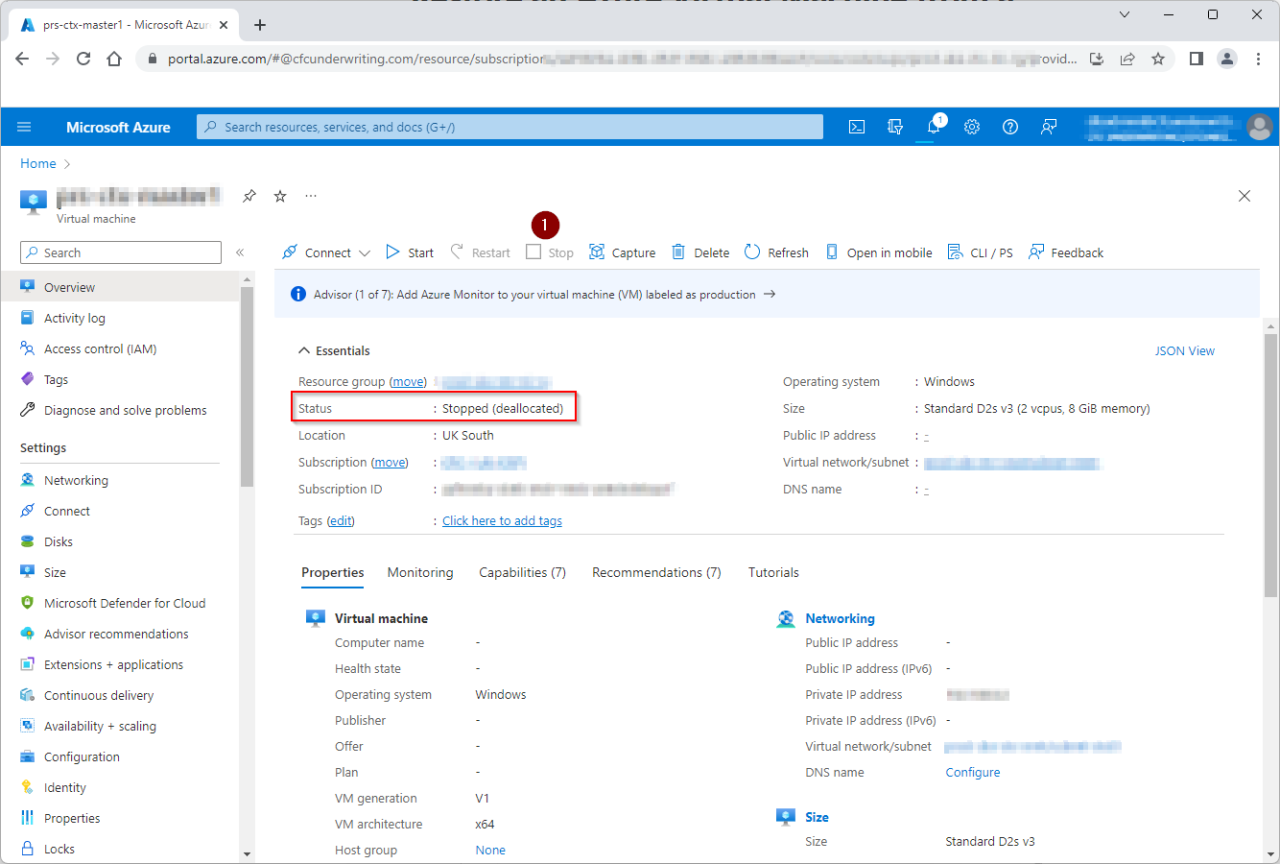
Stop and deallocate the old Virtual Machine
Delete the old Virtual machine

Delete the VM network interface, but do not delete the disk
Tick that you have read the warning
Delete

Disks - select the new disk

Create VM

Resource group: resource-group-name
Virtual machine name: new-vm-name
Image: new-disk-name
Size: Standard D2s v3
Public inbound ports: None
License type: Windows client
Tick: I confirm I have an eligible Windows 10/11 license with multi-tenant hosting rights.
Click Next Disks

Disks - Standard SSD
Click Next Networking

Virtual network: select existing vnet
Subnet: select existing subnet
Public IP: none
NIC network security group: none
Review + create

Create

Once the new VM is up and running, you should delete the old disk and any associated snapshots.
These articles might be helpful when restoring a VM from a disk snapshot or backup.
Azure VM - The remote computer that you are trying to connect to requires Network Level Authentication (NLA)
Azure VM - The trust relationship between this workstation and the primary domain failed
Azure VM - Reset Windows local admin password using the Azure Portal
Comments