You can help support this website by buying me a coffee!

(UPDATED OCT 2022) How to install macOS (High Sierra 10.13, Mojave 10.14, Catalina 10.15, Big Sur 11) on Windows 10 in a VMware Workstation virtual machine including Google drive links to download the VMware VMDK virtual disk images.
This example is for installing High Sierra 10.13 on Windows 10 using VMware Workstation 15. This guide will also work for other versions of macOS e.g. Mojave 10.14, Catalina 10.15 or Big Sur 11. Google drive links to download the virtual disk images for these macOS versions are also included below.
1 Run VMWare macOS Unlocker
2 Download macOS VMware VMDK disk image file from Google Drive
3 Create macOS VMware Workstation Virtual Machine
4 Edit the Virtual Machine settings
5 Attach the recovery VMDK disk image
6 Boot virtual machine from the recovery disk
7 Run Disk utility to erase the OS disk
8 Install macOS on the virtual machine
9 Install VMware tools
1 Run VMWare macOS Unlocker
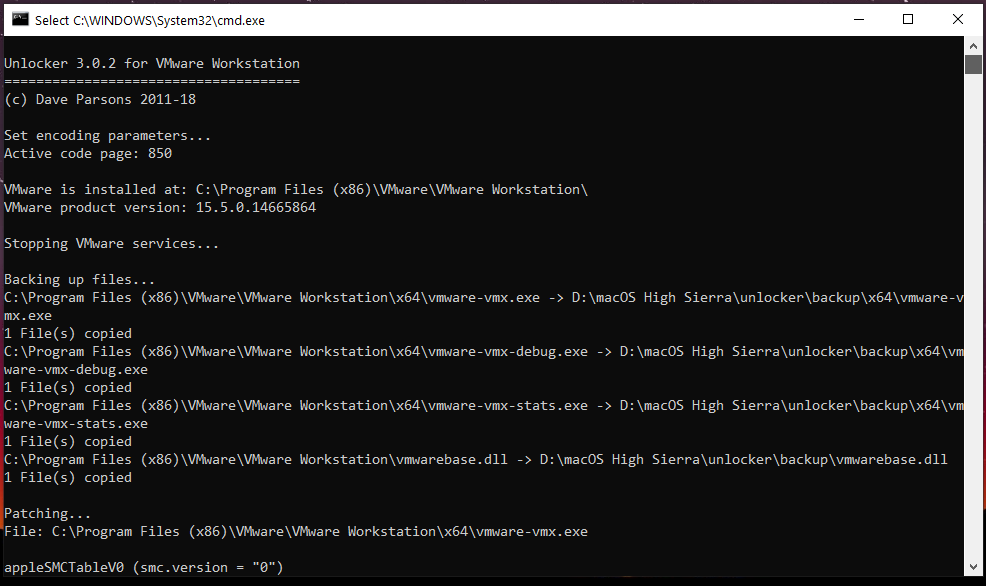
We'll need to run macOS Unlocker to remove VMware workstations restrictions for running Apple virtual machines. After running macOS Unlocker we will be able to create macOS guest virtual machines.
macOS Unlocker V3.0 for VMware Workstation
https://github.com/paolo-projects/unlocker/releases
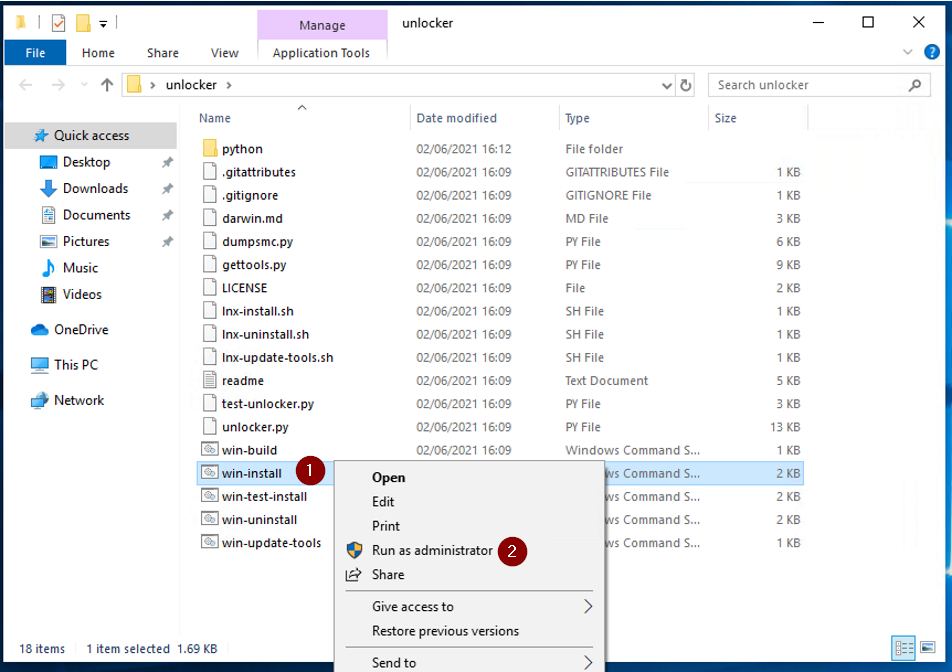
Download unlocker.zip and extract
Right click win-install.cmd - run as Administrator
2 Download macOS VMware VMDK disk image file from Google Drive
Download macOS VMware VMDK disk image files
https://techlabs.blog/categories/guides/download-macos-vmware-vmdk-disk-image-files
Create a VMware VMDK disk image file for installing macOS (High Sierra, Mojave, Catalina) on VMware Workstation on Windows
https://techlabs.blog/categories/guides/create-a-vmware-vmdk-disk-image-file-for-installing-macos-high-sierra-mojave-catalina-on-vmware-workstation-on-windows
3 Create macOS VMware Workstation Virtual Machine
Create a New Virtual Machine

What type of configuration do you want - Typical

Guest Operating System Installation - I will install the operating system later

Select a Guest Operating system
Apple Mac OS X - choose the right version for whichever macOS you are installing
e.g. High Sierra macOS 10.13

Enter a name for the Virtual Machine
Location - check the destination drive has enough space for the virtual machine disk files, you'll need at least 100GB free

Specify Disk Capacity
Maximum disk size: 100GB
Store virtual disk as a single file - this is the best option for performance

Ready to Create Virtual machine - Finish

4 Edit the Virtual Machine settings

Memory 8GB
I have 16GB of physical memory available, I'm allocating half of that to the virtual machine to get the best performance

Number of processors: 2
Number of cores per processor: 2
Again I'm allocating half of my available physical CPU cores so my macOS virtual machine runs well

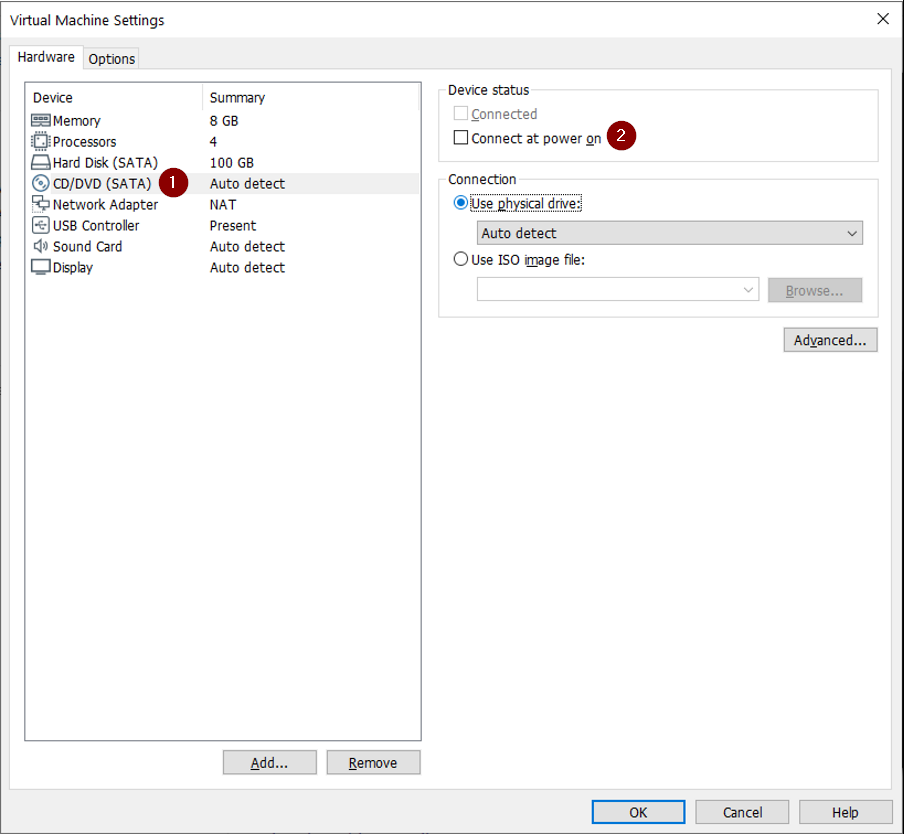
CD/DVD - untick connect at power on
We are not using the CD/DVD drive for now so this can be turned off
5 Attach the recovery VMDK disk image
We need to attach the macOS recovery disk image (that you downloaded in step 2) so we can boot the VM and run the macOS installer. The VM will have two hard disks attached - the recovery disk macOS-recovery.vmdk and another 100GB hard drive that we will install macOS onto
Hardware - Add

Hardware Type - Hard Disk

Select a disk type - SATA

Select a disk - Use an existing virtual disk

Select an existing disk
Browse for and select macos-recovery.vmdk then click finish

Keep existing format

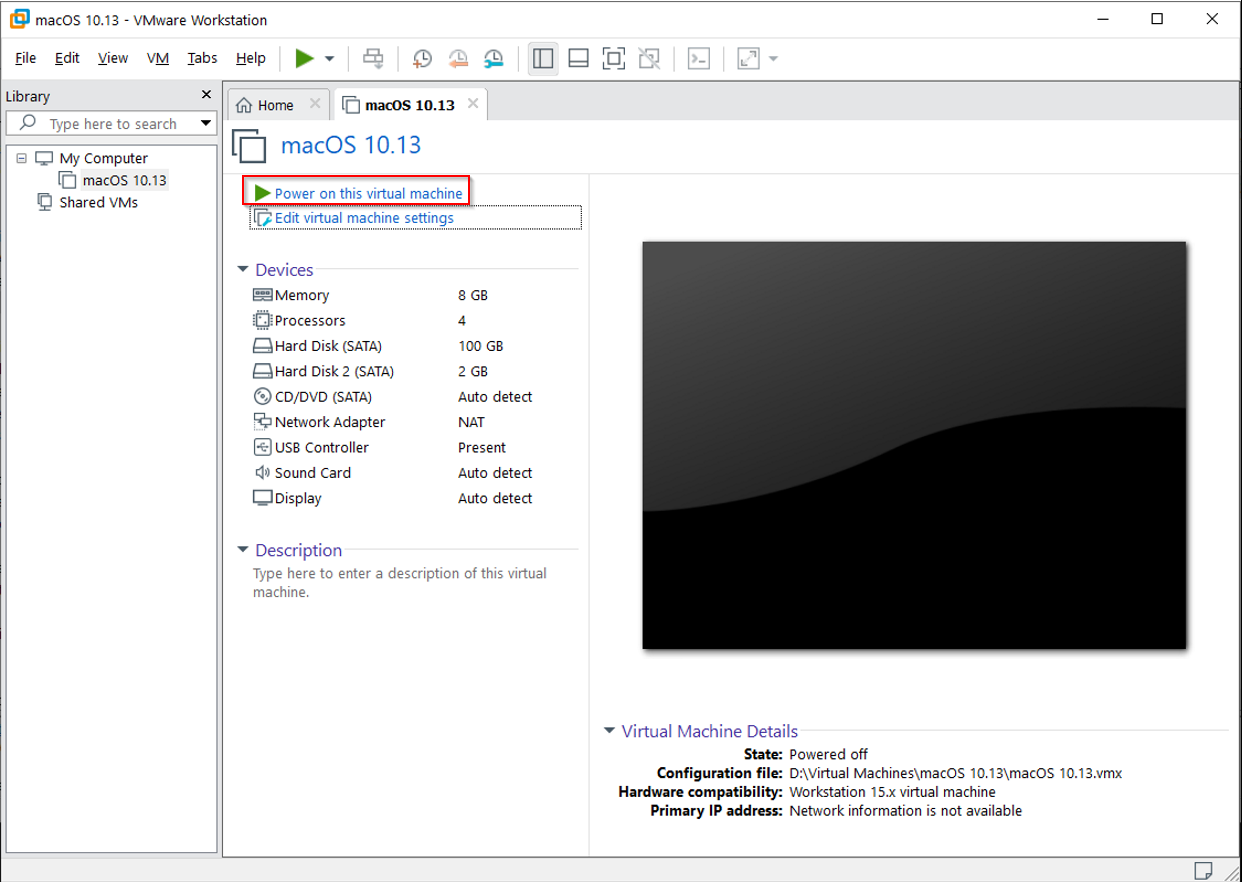
6 Boot virtual machine from the recovery disk
Power on the Virtual Machine
macOS installer will start to load

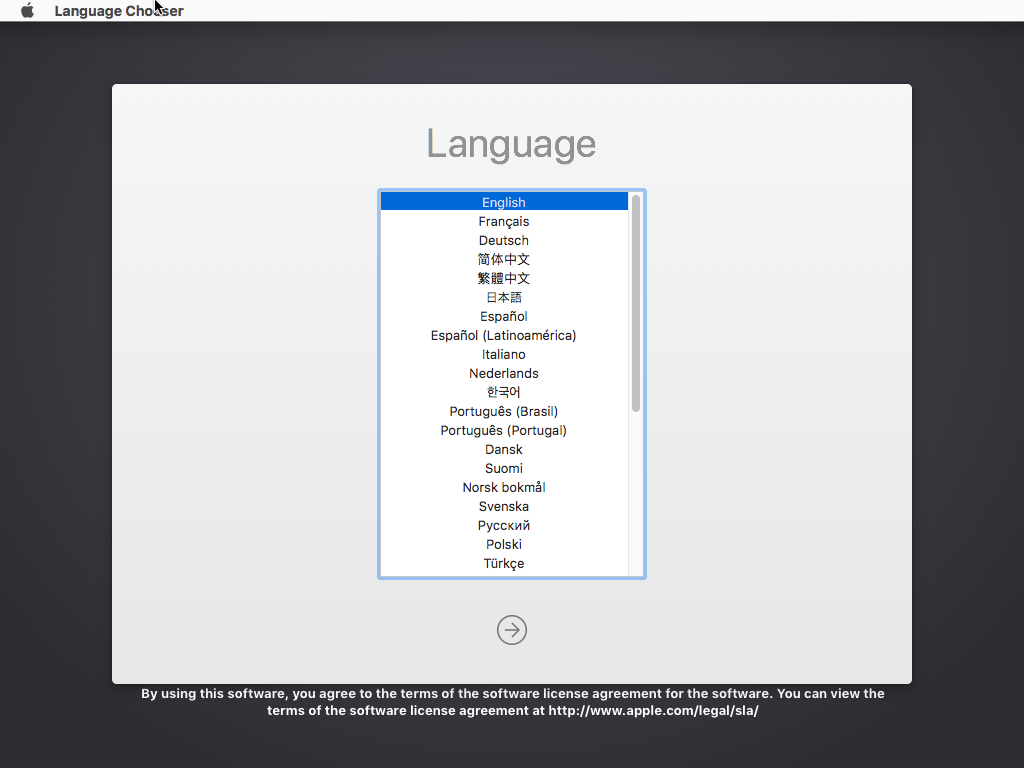
Select your language

Select the 100GB virtual disk - Erase

Name: Hard Drive
Format: Mac OS Extended (Journaled)
Scheme: GUID Partition Map

Quit Disk Utility when the erase has finished

8 Install macOS on the virtual machine
Reinstall macOS - Continue

Install macOS - Continue

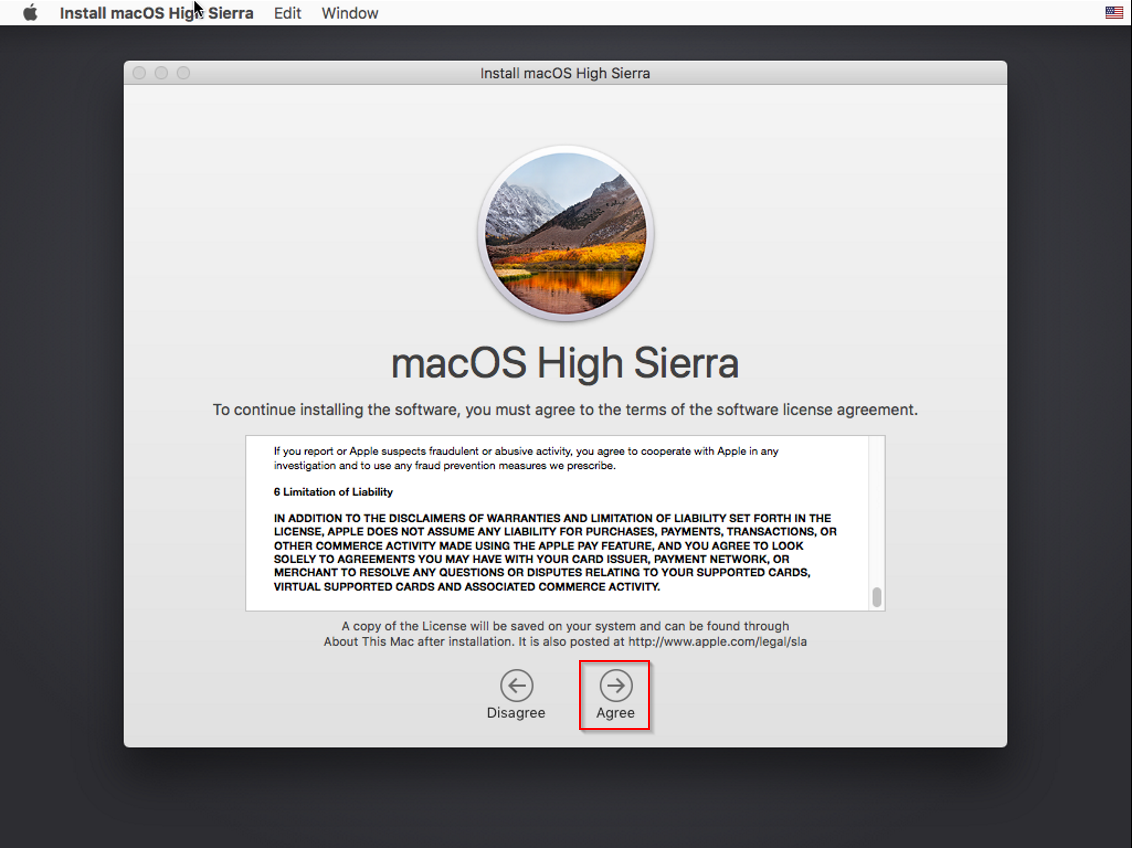
Agree to the license agreement
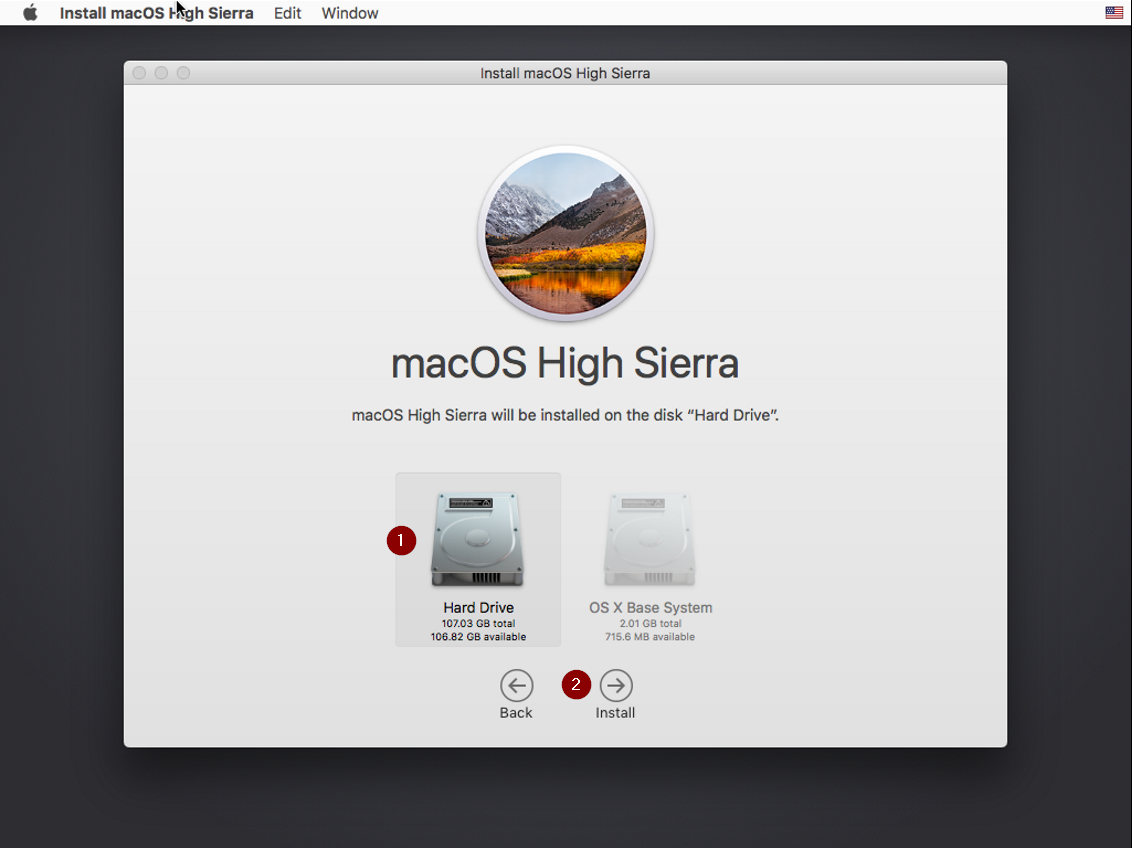
Select the 100GB Hard Drive then click Install
Complete macOS setup - choose your country, keyboard layout, enter Apple ID etc

Shutdown the VM

Edit the virtual machine settings and remove boot disk macos-recovery.vmdk

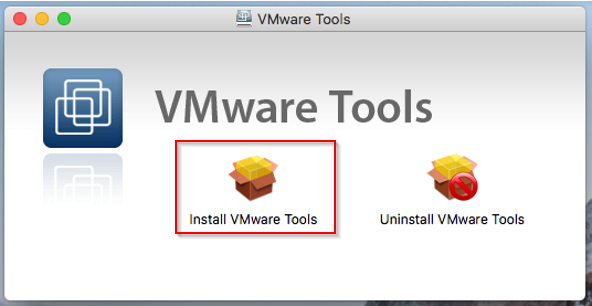
Power on the VM again and Install VMWare tools

Download VMWare tools for macOS darwin.iso
Download VMware tools for macOS darwin.iso
Install VMware Tools
Continue

Install

Click Continue Installation and enter your password when prompted

Click the lock to make changes and enter your password again when prompted
System software from developer "VMWare" - click allow

Restart the Mac virtual machine after installing VMware tools


UPDATE 17/5/2022
Adding these notes to the article from the comments below as they might be useful for anyone trying to get a macOS VM working on AMD hardware. Thanks to everyone who took the time to comment and give feedback!Guest - Jerry on Friday, 15 April 2022 20:11
If you have problems when the apple logo appears a nothing happens for amd hardware add the following to the vmx file:
smc.version = "0"
cpuid.0.eax = "0000:0000:0000:0000:0000:0000:0000:1011"
cpuid.0.ebx = "0111:0101:0110:1110:0110:0101:0100:0111"
cpuid.0.ecx = "0110:1100:0110:0101:0111:0100:0110:1110"
cpuid.0.edx = "0100:1001:0110:0101:0110:1110:0110:1001"
cpuid.1.eax = "0000:0000:0000:0001:0000:0110:0111:0001"
cpuid.1.ebx = "0000:0010:0000:0001:0000:1000:0000:0000"
cpuid.1.ecx = "1000:0010:1001:1000:0010:0010:0000:0011"
cpuid.1.edx = "0000:0111:1000:1011:1111:1011:1111:1111"
smbios.reflectHost = "TRUE"
hw.model = "MacBookPro14,3"
board-id = "Mac-551B86E5744E2388"
Guest - Htom on Saturday, 30 April 2022 16:02
I was getting an error about "This virtual machine requires AVX2 but AVX is not present. This virtual machine cannot be powered on.".
I changed virtualHW.version in the .vmx to "10" to fix this. This apparently limits the USB to 2.x compatibility, but I can live with that.
It looks like by default VMWare sets USB compatibility to 1.1, and the VM did not recognize my USB mouse or keyboard.
Changing that to 2.x got those working.
The VM you end up with will also work with Linux VMWare WorkStation. You need the Linux VMWare unlocker (in the same zip file that has the Windows one).

Comments 113
Hi, check out this guide. Hope that helps!
SOLVED: macOS VMware Virtual Machine won't start, stuck in a boot loop
https://techlabs.blog/categories/guides/solved-macos-vmware-virtual-machine-wont-start-stuck-in-a-boot-loop
Hi, take a look at this guide
SOLVED: macOS VMware Virtual Machine won't start, stuck in a boot loop
https://techlabs.blog/categories/guides/solved-macos-vmware-virtual-machine-wont-start-stuck-in-a-boot-loop
How do I edit the VMX file for AMD? I went and added the code but after doing so I get this error "Error while opening the virtual machine: A file access error occurred on the host or guest operating system"
I can't get past the Terms and Conditions Screen - The Agree Button won't light up
I can't remember the exact steps, but you have to go back one and then NOT sign into you icloud account.
So I had to backup from the TAC screen and create a user and then it worked
Hi, I followed the tutorial exactly and no matter what I do it always comes back with the same message.
"VMware Workstation unrecoverable error: (vcpu-2)
Exception 0xc0000005 (access violation) has occurred.
A log file is available in "C:\Users\(mylastname)\OneDrive\Documents\Virtual Machines\macOS 10.13\vmware.log".
You can request support.
To collect data to submit to VMware support, choose "Collect Support Data" from the Help menu.
You can also run the "vm-support" script in the Workstation folder directly.
We will respond on the basis of your support entitlement."
It refuses to boot, help, please?
A couple of observations:
1. If for some reason you need to uninstalll and reinstall VMWare, you MUST run unlocker --uninstall or you will not get the option to install MacOS.
2. I used APFS instead of Journaled for the virtual drive.
3.Depending on what you're installing, you may have to go into VM/Settings and change the screen size/aspect ratio.
Works well, great directions, clear, concise and well-illustrated. Many thanks.
Hi, thanks for the info might be useful for others. Appreciate the feedback
Thanks but I have a problem. When I try to add hard disk I cant because it wont appear on the list. Why is that? I have vmware 15.
Hi, which disk image are you trying to use? Some images are compatible with VMware workstation 15 and some 17.
Thank you so much for this! I tried many other guides/methods, but this is the only one that finally got me there.
I am having issues though getting imessages to work on the VM. Are there any guides/advice for this you might have as well?
I know this thread hasn't been active in a while, but hopefully someone can help. I have followed the steps to a T, but when I get to the step where you add the VMDK file, once I select it and click finish, it pops up a box saying "the file specified is not a virtual disk".