You can help support this website by buying me a coffee!

(UPDATED OCT 2022) How to install macOS (High Sierra 10.13, Mojave 10.14, Catalina 10.15, Big Sur 11) on Windows 10 in a VMware Workstation virtual machine including Google drive links to download the VMware VMDK virtual disk images.
This example is for installing High Sierra 10.13 on Windows 10 using VMware Workstation 15. This guide will also work for other versions of macOS e.g. Mojave 10.14, Catalina 10.15 or Big Sur 11. Google drive links to download the virtual disk images for these macOS versions are also included below.
1 Run VMWare macOS Unlocker
2 Download macOS VMware VMDK disk image file from Google Drive
3 Create macOS VMware Workstation Virtual Machine
4 Edit the Virtual Machine settings
5 Attach the recovery VMDK disk image
6 Boot virtual machine from the recovery disk
7 Run Disk utility to erase the OS disk
8 Install macOS on the virtual machine
9 Install VMware tools
1 Run VMWare macOS Unlocker
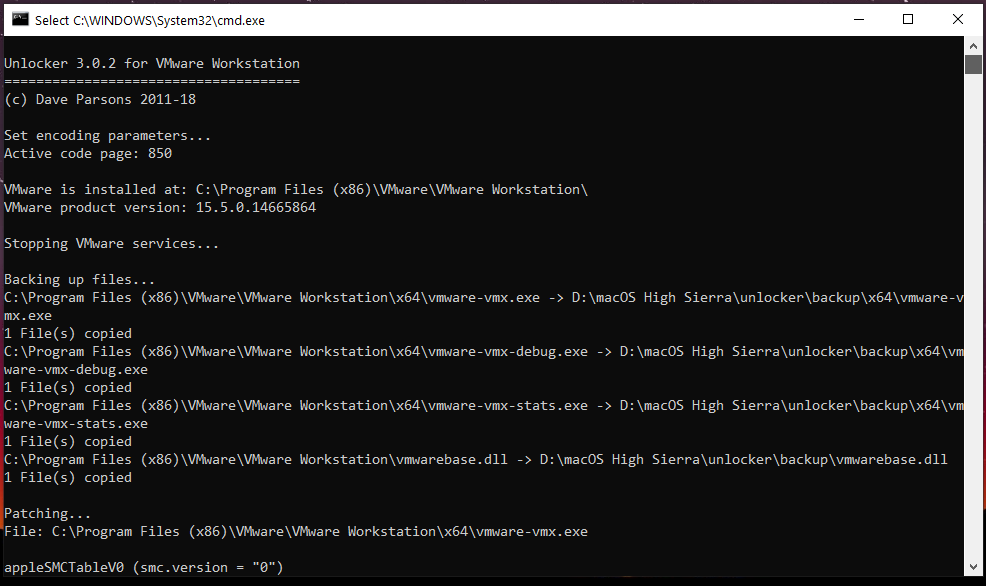
We'll need to run macOS Unlocker to remove VMware workstations restrictions for running Apple virtual machines. After running macOS Unlocker we will be able to create macOS guest virtual machines.
macOS Unlocker V3.0 for VMware Workstation
https://github.com/paolo-projects/unlocker/releases
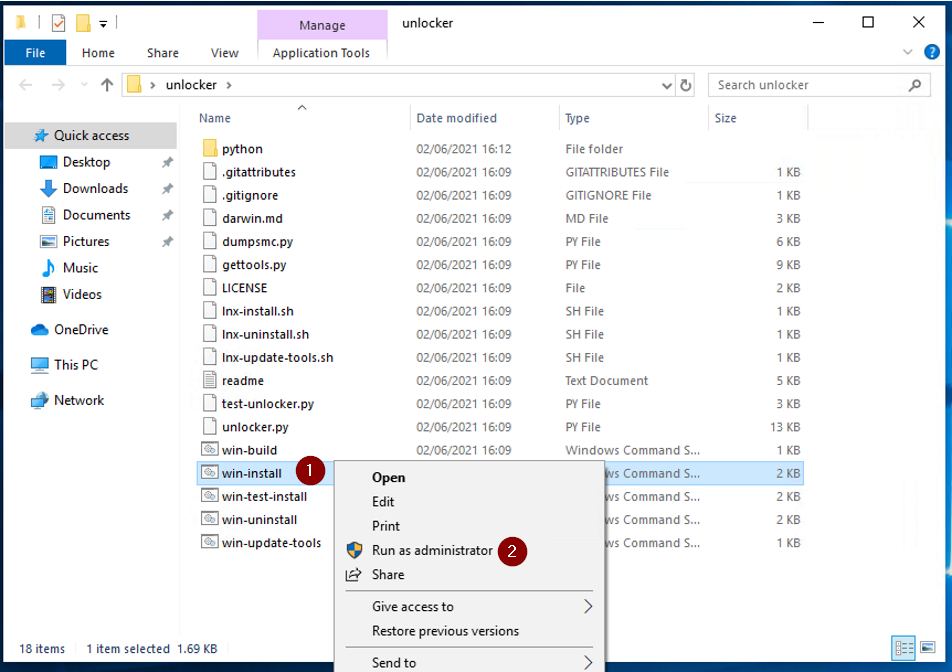
Download unlocker.zip and extract
Right click win-install.cmd - run as Administrator
2 Download macOS VMware VMDK disk image file from Google Drive
Download macOS VMware VMDK disk image files
https://techlabs.blog/categories/guides/download-macos-vmware-vmdk-disk-image-files
Create a VMware VMDK disk image file for installing macOS (High Sierra, Mojave, Catalina) on VMware Workstation on Windows
https://techlabs.blog/categories/guides/create-a-vmware-vmdk-disk-image-file-for-installing-macos-high-sierra-mojave-catalina-on-vmware-workstation-on-windows
3 Create macOS VMware Workstation Virtual Machine
Create a New Virtual Machine

What type of configuration do you want - Typical

Guest Operating System Installation - I will install the operating system later

Select a Guest Operating system
Apple Mac OS X - choose the right version for whichever macOS you are installing
e.g. High Sierra macOS 10.13

Enter a name for the Virtual Machine
Location - check the destination drive has enough space for the virtual machine disk files, you'll need at least 100GB free

Specify Disk Capacity
Maximum disk size: 100GB
Store virtual disk as a single file - this is the best option for performance

Ready to Create Virtual machine - Finish

4 Edit the Virtual Machine settings

Memory 8GB
I have 16GB of physical memory available, I'm allocating half of that to the virtual machine to get the best performance

Number of processors: 2
Number of cores per processor: 2
Again I'm allocating half of my available physical CPU cores so my macOS virtual machine runs well

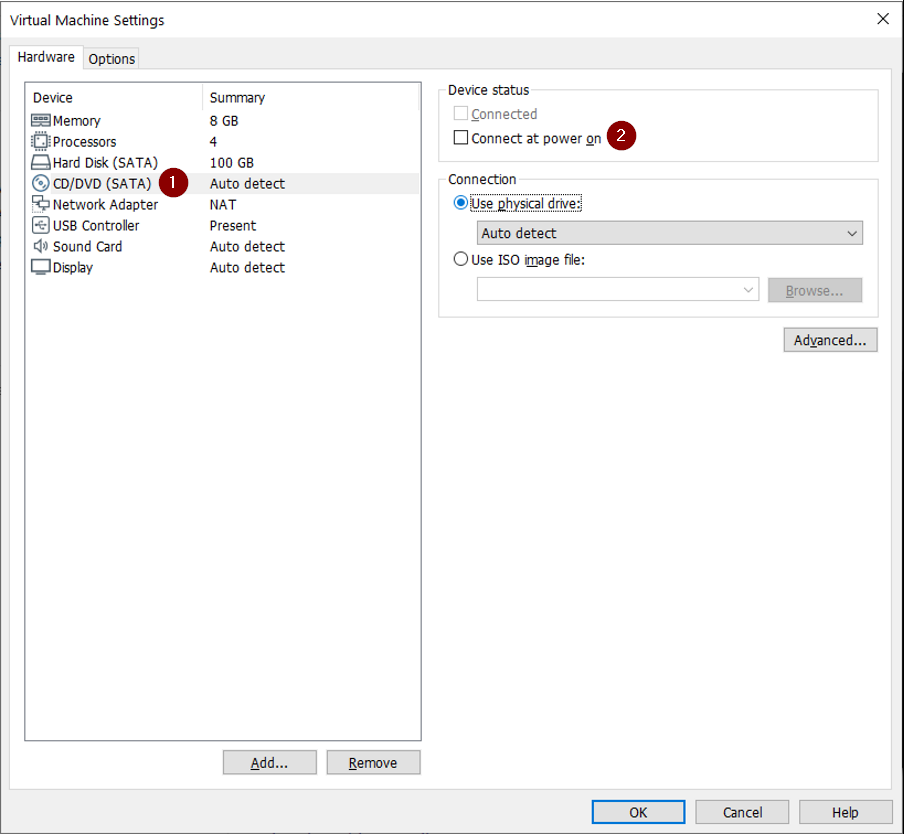
CD/DVD - untick connect at power on
We are not using the CD/DVD drive for now so this can be turned off
5 Attach the recovery VMDK disk image
We need to attach the macOS recovery disk image (that you downloaded in step 2) so we can boot the VM and run the macOS installer. The VM will have two hard disks attached - the recovery disk macOS-recovery.vmdk and another 100GB hard drive that we will install macOS onto
Hardware - Add

Hardware Type - Hard Disk

Select a disk type - SATA

Select a disk - Use an existing virtual disk

Select an existing disk
Browse for and select macos-recovery.vmdk then click finish

Keep existing format

6 Boot virtual machine from the recovery disk
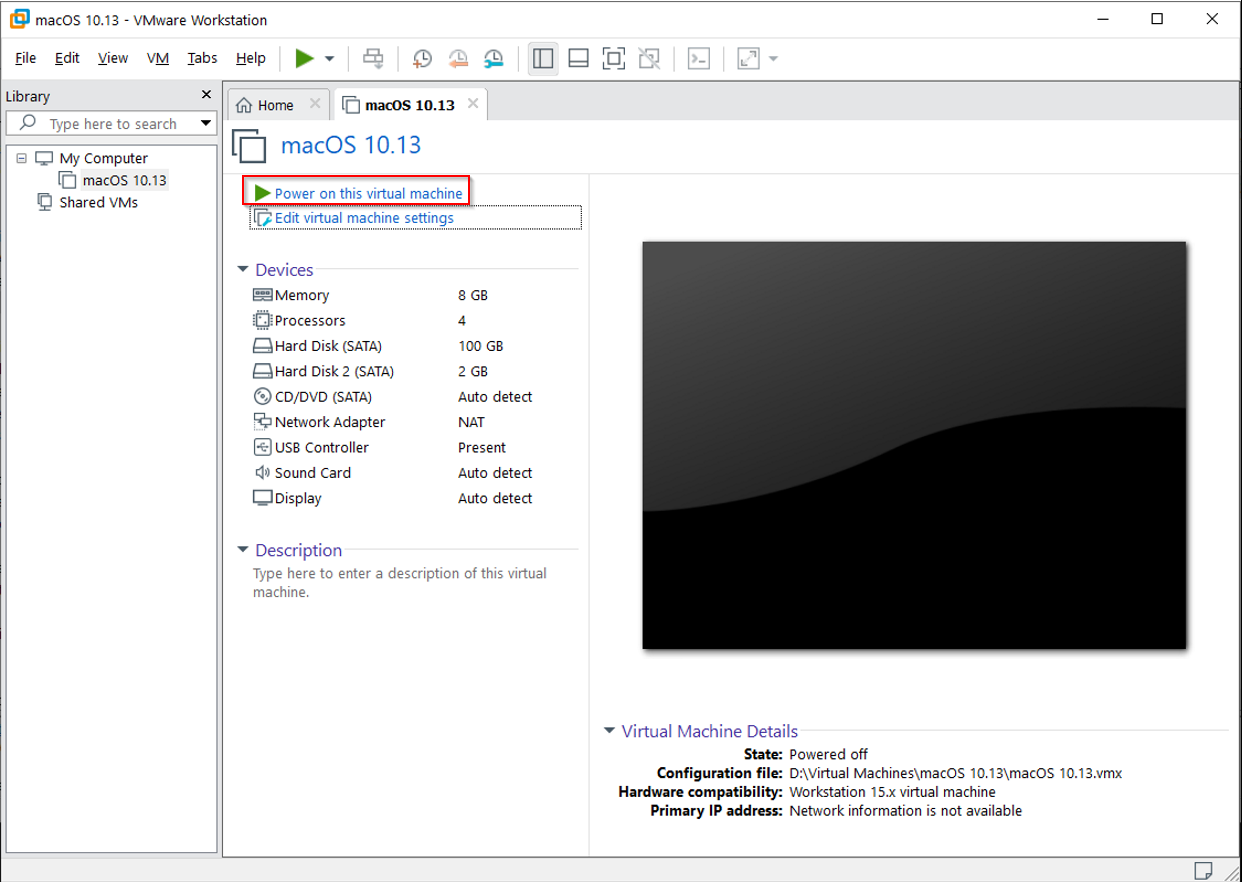
Power on the Virtual Machine
macOS installer will start to load

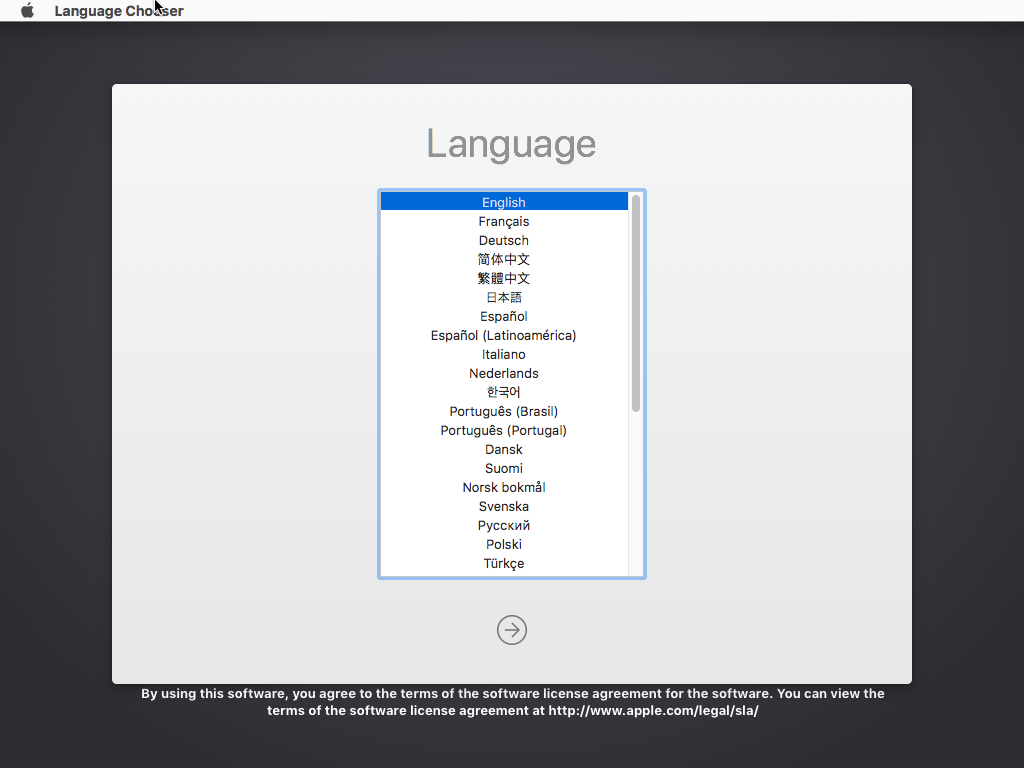
Select your language

Select the 100GB virtual disk - Erase

Name: Hard Drive
Format: Mac OS Extended (Journaled)
Scheme: GUID Partition Map

Quit Disk Utility when the erase has finished

8 Install macOS on the virtual machine
Reinstall macOS - Continue

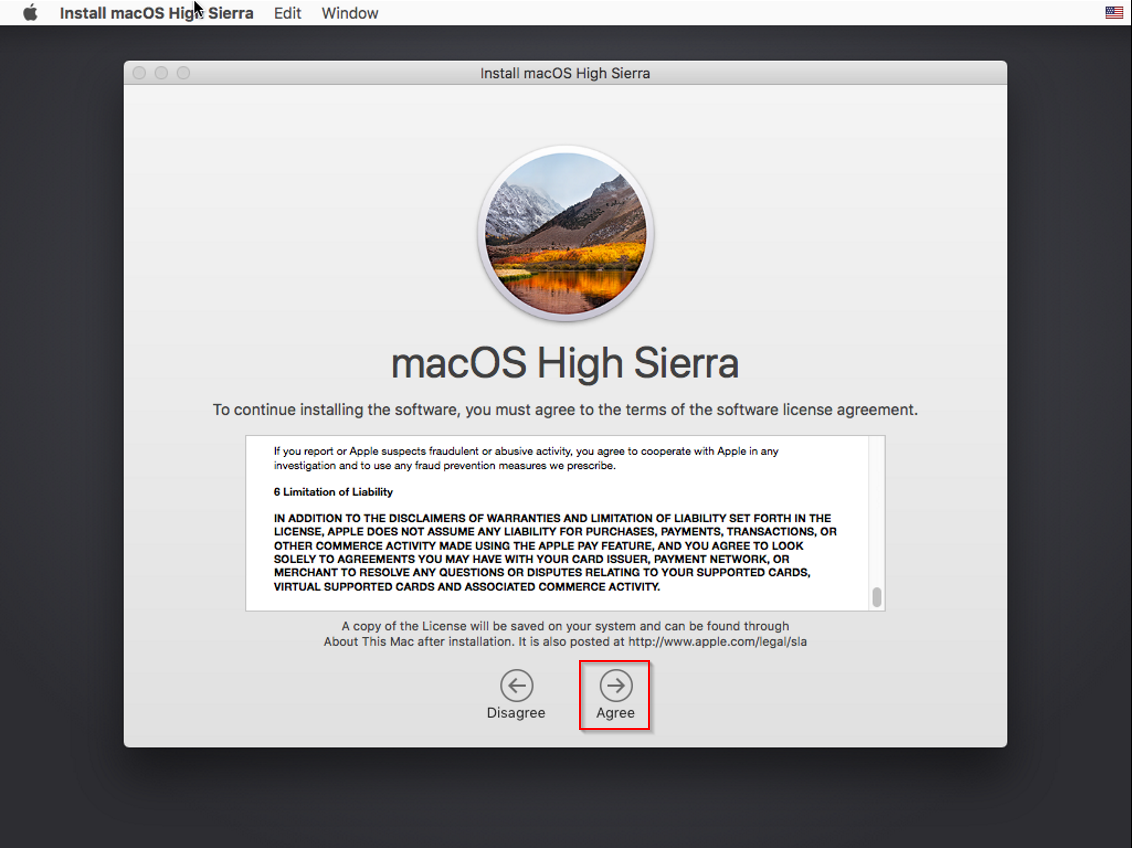
Install macOS - Continue

Agree to the license agreement
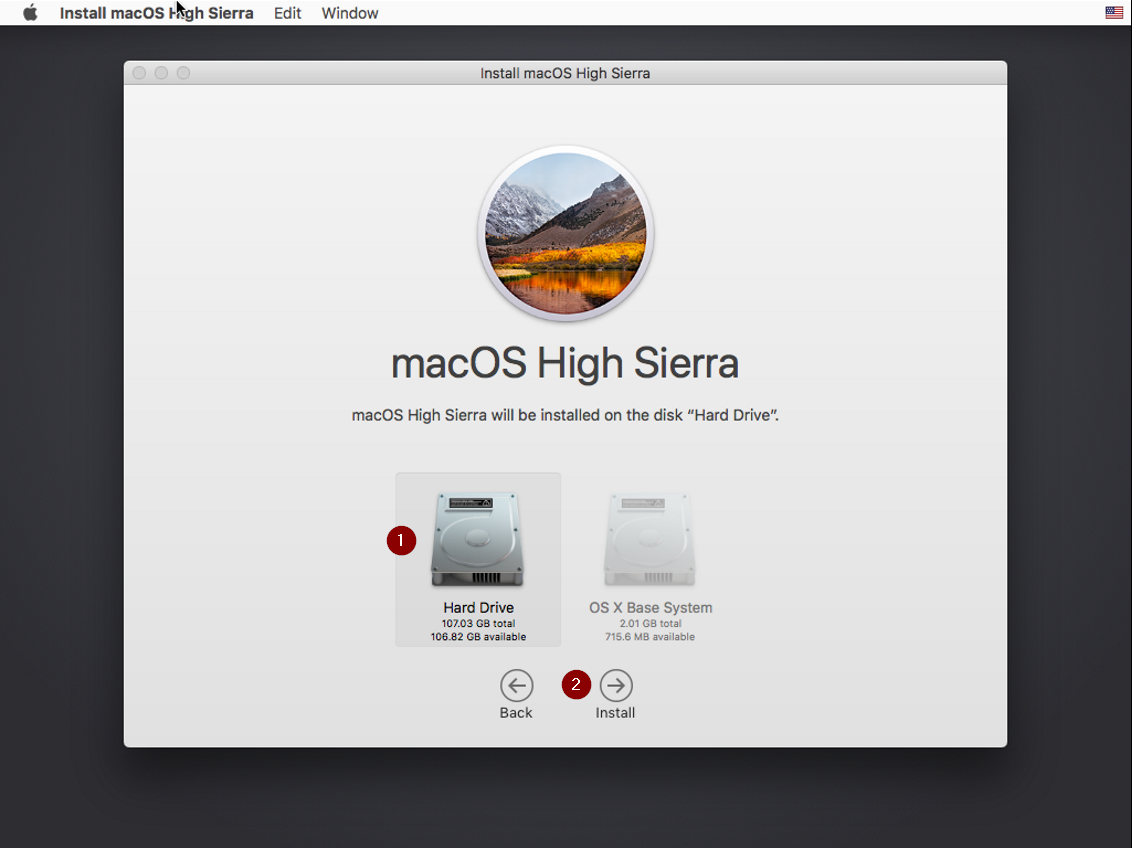
Select the 100GB Hard Drive then click Install
Complete macOS setup - choose your country, keyboard layout, enter Apple ID etc

Shutdown the VM

Edit the virtual machine settings and remove boot disk macos-recovery.vmdk

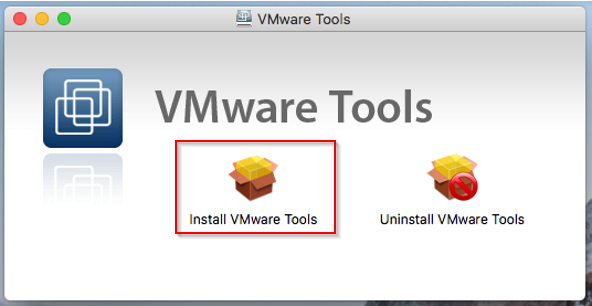
Power on the VM again and Install VMWare tools

Download VMWare tools for macOS darwin.iso
Download VMware tools for macOS darwin.iso
Install VMware Tools
Continue

Install

Click Continue Installation and enter your password when prompted

Click the lock to make changes and enter your password again when prompted
System software from developer "VMWare" - click allow

Restart the Mac virtual machine after installing VMware tools


UPDATE 17/5/2022
Adding these notes to the article from the comments below as they might be useful for anyone trying to get a macOS VM working on AMD hardware. Thanks to everyone who took the time to comment and give feedback!Guest - Jerry on Friday, 15 April 2022 20:11
If you have problems when the apple logo appears a nothing happens for amd hardware add the following to the vmx file:
smc.version = "0"
cpuid.0.eax = "0000:0000:0000:0000:0000:0000:0000:1011"
cpuid.0.ebx = "0111:0101:0110:1110:0110:0101:0100:0111"
cpuid.0.ecx = "0110:1100:0110:0101:0111:0100:0110:1110"
cpuid.0.edx = "0100:1001:0110:0101:0110:1110:0110:1001"
cpuid.1.eax = "0000:0000:0000:0001:0000:0110:0111:0001"
cpuid.1.ebx = "0000:0010:0000:0001:0000:1000:0000:0000"
cpuid.1.ecx = "1000:0010:1001:1000:0010:0010:0000:0011"
cpuid.1.edx = "0000:0111:1000:1011:1111:1011:1111:1111"
smbios.reflectHost = "TRUE"
hw.model = "MacBookPro14,3"
board-id = "Mac-551B86E5744E2388"
Guest - Htom on Saturday, 30 April 2022 16:02
I was getting an error about "This virtual machine requires AVX2 but AVX is not present. This virtual machine cannot be powered on.".
I changed virtualHW.version in the .vmx to "10" to fix this. This apparently limits the USB to 2.x compatibility, but I can live with that.
It looks like by default VMWare sets USB compatibility to 1.1, and the VM did not recognize my USB mouse or keyboard.
Changing that to 2.x got those working.
The VM you end up with will also work with Linux VMWare WorkStation. You need the Linux VMWare unlocker (in the same zip file that has the Windows one).

Comments 113
Hi, I have tested audio pass through on the macOS VM, and it works OK. Have you installed VMware Tools on the VM? In VMware Workstation, check under the VM menu - Removable devices, is sound card ticked? You should also see devices from your host machine that can be connected to the VM.
I have you problems when the apple logo appears a nothing happens for amd hardware add the following to the vmx file:
smc.version = “0”
cpuid.0.eax = “0000:0000:0000:0000:0000:0000:0000:1011”
cpuid.0.ebx = “0111:0101:0110:1110:0110:0101:0100:0111”
cpuid.0.ecx = “0110:1100:0110:0101:0111:0100:0110:1110”
cpuid.0.edx = “0100:1001:0110:0101:0110:1110:0110:1001”
cpuid.1.eax = “0000:0000:0000:0001:0000:0110:0111:0001”
cpuid.1.ebx = “0000:0010:0000:0001:0000:1000:0000:0000”
cpuid.1.ecx = “1000:0010:1001:1000:0010:0010:0000:0011”
cpuid.1.edx = “0000:0111:1000:1011:1111:1011:1111:1111”
smbios.reflectHost = “TRUE”
hw.model = “MacBookPro14,3”
board-id = “Mac-551B86E5744E2388”
Hi, thanks for the feedback! Could be useful for others trying to get a macOS VM running on AMD hardware.
Jerry, Thanks you're a legend! Also trying to run this on AMD hardware!
Jerry is the GOAT
The number of times I've tried to get macOS running under VMWare...
Welp, this sure works. I have an AMD processor and had to add the additional lines to the .vmx. As copied from this page, the " marks are not "true" double quotes, and VMWare reported the lines as gobbledy-gook. Changed them "real" double quotes, and success!
I was getting an error about "This virtual machine requires AVX2 but AVX is not present. This virtual machine cannot be powered on.". I changed virtualHW.version in the .vmx to "10" to fix this. This apparently limits the USB to 2.x compatibility, but I can live with that.
It looks like by default VMWare sets USB compatibility to 1.1, and the VM did not recognize my USB mouse or keyboard. Changing that to 2.x got those working.
The VM you end up with will also work with Linux VMWare WorkStation. You need the Linux VMWare unlocker (in the same zip file that has the Windows one).
So basically, thanks to everyone involved here.
I will update the main article with notes from the comments about running on AMD hardware. This is really helpful for others, so thanks for taking the time to give feedback!
How do I change the video ram on it. At first I thought I saw the option to change it from 128mb...but know I cannot see the option to change it, and the Mac OS show 128mb of vram. Other than that this guide is pretty awesome. Had an AMD and had to go thru editing the the startup files and everything. Works beautifully!! Thanks for the guide!!
Hi, you can try changing the video memory by editing the .vmx file and changing the value (in bytes) for svga.vramSize. e.g.
svga.vramSize = "268435456"
Hope that helps!
Let`s Say i tried milions of options and only yours worked ur da best
Hello! It was a great tutorial, thank you! One issue tho. Third-party apps downloaded doesn't recognize internet connectivity. Discord fails to install due to "no internet" and Spotify fails to load due to the same issue. No problems on App Store apps tho (I've tested Trello and it works just fine.) Any ideas?
Hi, I tested Spotify and it works ok on my macOS VM. My host computer is connected using ethernet not wifi. Maybe try plugging in a network cable and see if that works? Good luck!
Hi, thanks for reaching back. I have tried connecting it using Ethernet, and I have edited my parameters on my network, changing from NAT to Bridged and vice versa, still no luck. Tried downgrading to Mojave (from Big Sur) but to no avail.
Hi, this is difficult to troubleshoot as I can't reproduce the issue in my lab.
You could check the following: make sure the latest version of VMware tools is installed on the VM. Install MacOS updates on the VM. Update the host computers network card drivers. Try another network connection on the host computer - Wifi or USB ethernet adapter. From within the VM, can you ping google.com and get a response? What are the tcp/ip settings within the VM? Try changing the DNS to Google 8.8.8.8. If you can ping Google and browse the web OK within the VM, then the VM network is fine, and the issue could be the third-party apps themselves. Check system preferences for third-party app security and privacy settings?
Hope that helps!
If you encounter this message, as I did "The CPU has been disabled by the guest operating system. Power off or reset the virtual machine.", do:
https://stackoverflow.com/questions/67025805/vmware-macos-bigsur-in-win10
My CPU: AMD Ryzen 7 5700G
Thanks for the feedback! I will update the article with this info.
Thanks still working now, no problem
Thank you so much for the step by step installation. I used to install on VirtualBox, the performance really slow and laggy, but using VM Player much much more smoother. I'm installing on my MacBook pro 17 inch 2011, 16 GB RAM and 512 SSD. This MBP 2011 got problem with AMD graphics(common problem ) and I can only install windows 10 to this MBP2011 + disable AMD graphics ~ only use intel graphics. I upgraded to windows 11 recently. So, In order for me to run MacOS is via Virtual Machine. Finally, this is VM really help me a lot. I love my machine because it has 17" display and Im running HSierra at the moment
Will try to install Big Sur later.
Thanks Zam, glad you found the guide helpful!
This is a great resource and a far easier way to do this than I have seen in the past. For someone like myself who spends a lot of time packaging applications and scripts for deployment the testing is now so much easier. No more rolling back a pile of Macs every testing stage and I just roll back a snapshot. Would you be able to provide the info to create the recovery disks like you have created? A big thanks you and keep up the great work.