You can help support this website by buying me a coffee!

(UPDATED OCT 2022) How to install macOS (High Sierra 10.13, Mojave 10.14, Catalina 10.15, Big Sur 11) on Windows 10 in a VMware Workstation virtual machine including Google drive links to download the VMware VMDK virtual disk images.
This example is for installing High Sierra 10.13 on Windows 10 using VMware Workstation 15. This guide will also work for other versions of macOS e.g. Mojave 10.14, Catalina 10.15 or Big Sur 11. Google drive links to download the virtual disk images for these macOS versions are also included below.
1 Run VMWare macOS Unlocker
2 Download macOS VMware VMDK disk image file from Google Drive
3 Create macOS VMware Workstation Virtual Machine
4 Edit the Virtual Machine settings
5 Attach the recovery VMDK disk image
6 Boot virtual machine from the recovery disk
7 Run Disk utility to erase the OS disk
8 Install macOS on the virtual machine
9 Install VMware tools
1 Run VMWare macOS Unlocker
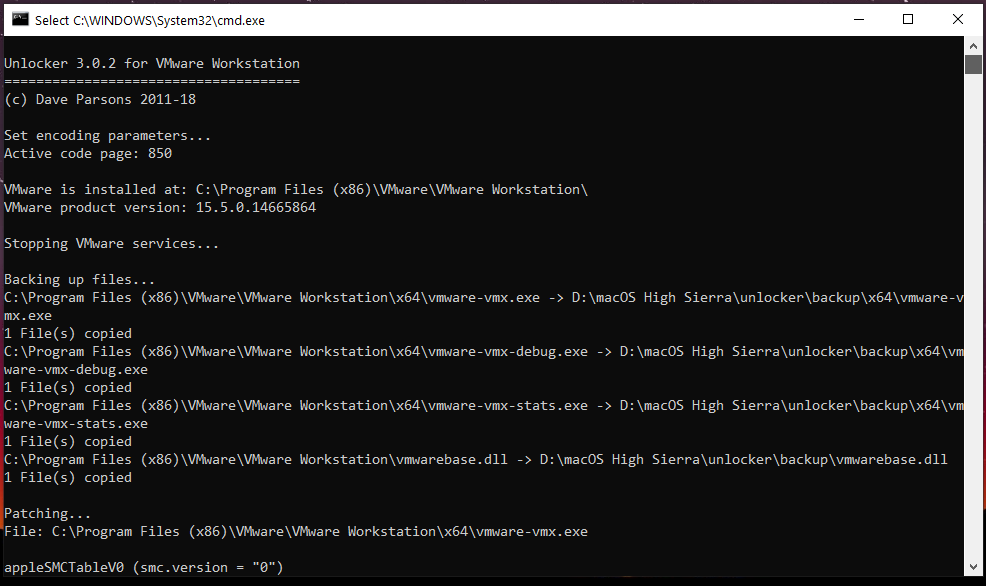
We'll need to run macOS Unlocker to remove VMware workstations restrictions for running Apple virtual machines. After running macOS Unlocker we will be able to create macOS guest virtual machines.
macOS Unlocker V3.0 for VMware Workstation
https://github.com/paolo-projects/unlocker/releases
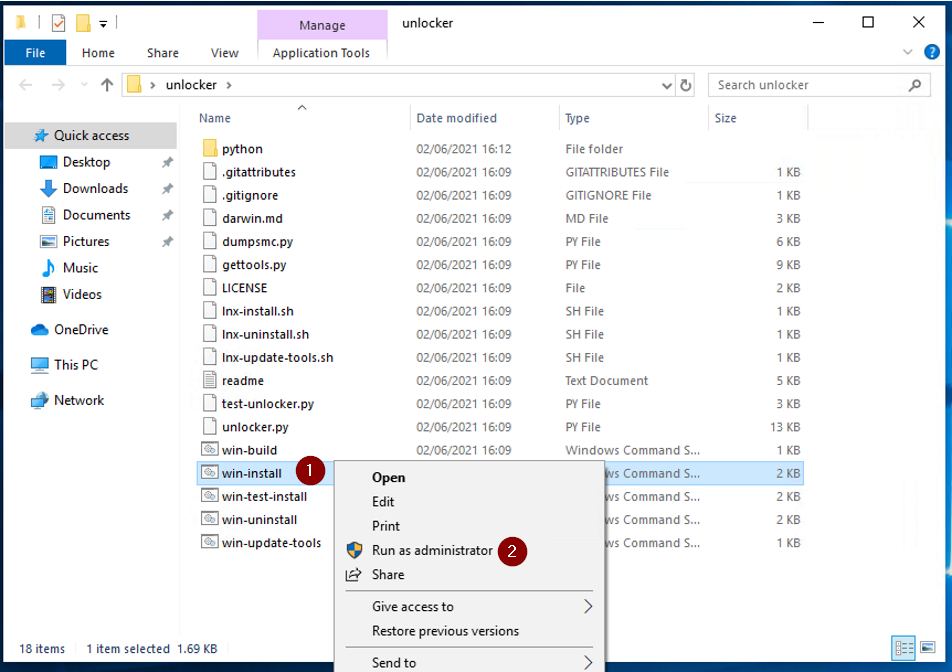
Download unlocker.zip and extract
Right click win-install.cmd - run as Administrator
2 Download macOS VMware VMDK disk image file from Google Drive
Download macOS VMware VMDK disk image files
https://techlabs.blog/categories/guides/download-macos-vmware-vmdk-disk-image-files
Create a VMware VMDK disk image file for installing macOS (High Sierra, Mojave, Catalina) on VMware Workstation on Windows
https://techlabs.blog/categories/guides/create-a-vmware-vmdk-disk-image-file-for-installing-macos-high-sierra-mojave-catalina-on-vmware-workstation-on-windows
3 Create macOS VMware Workstation Virtual Machine
Create a New Virtual Machine

What type of configuration do you want - Typical

Guest Operating System Installation - I will install the operating system later

Select a Guest Operating system
Apple Mac OS X - choose the right version for whichever macOS you are installing
e.g. High Sierra macOS 10.13

Enter a name for the Virtual Machine
Location - check the destination drive has enough space for the virtual machine disk files, you'll need at least 100GB free

Specify Disk Capacity
Maximum disk size: 100GB
Store virtual disk as a single file - this is the best option for performance

Ready to Create Virtual machine - Finish

4 Edit the Virtual Machine settings

Memory 8GB
I have 16GB of physical memory available, I'm allocating half of that to the virtual machine to get the best performance

Number of processors: 2
Number of cores per processor: 2
Again I'm allocating half of my available physical CPU cores so my macOS virtual machine runs well

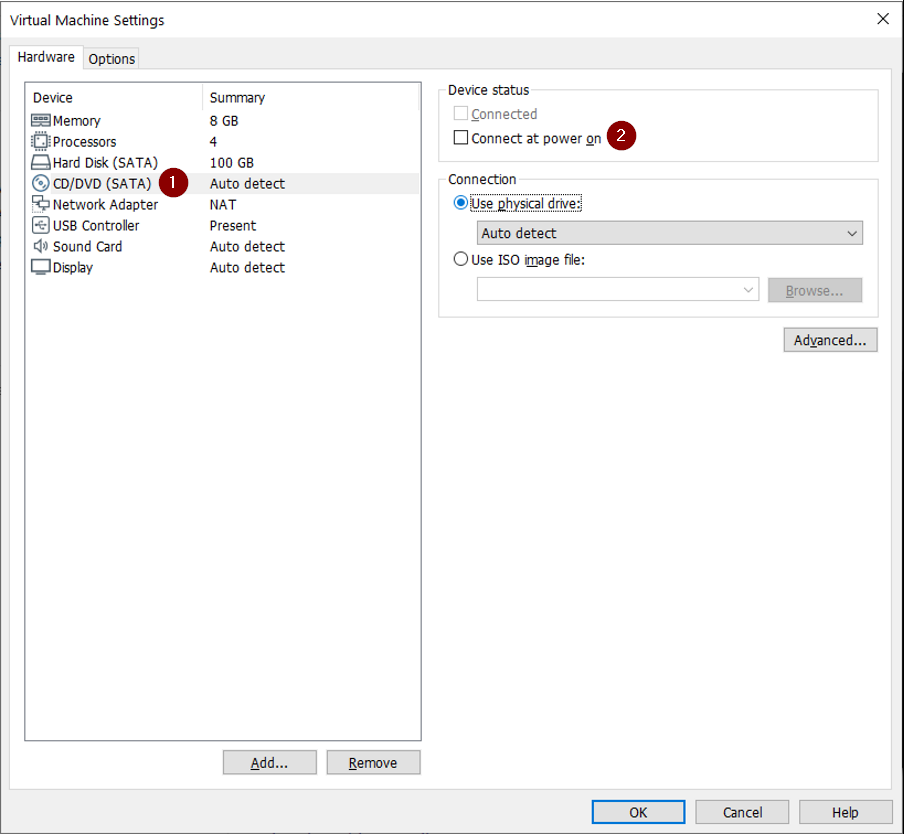
CD/DVD - untick connect at power on
We are not using the CD/DVD drive for now so this can be turned off
5 Attach the recovery VMDK disk image
We need to attach the macOS recovery disk image (that you downloaded in step 2) so we can boot the VM and run the macOS installer. The VM will have two hard disks attached - the recovery disk macOS-recovery.vmdk and another 100GB hard drive that we will install macOS onto
Hardware - Add

Hardware Type - Hard Disk

Select a disk type - SATA

Select a disk - Use an existing virtual disk

Select an existing disk
Browse for and select macos-recovery.vmdk then click finish

Keep existing format

6 Boot virtual machine from the recovery disk
Power on the Virtual Machine
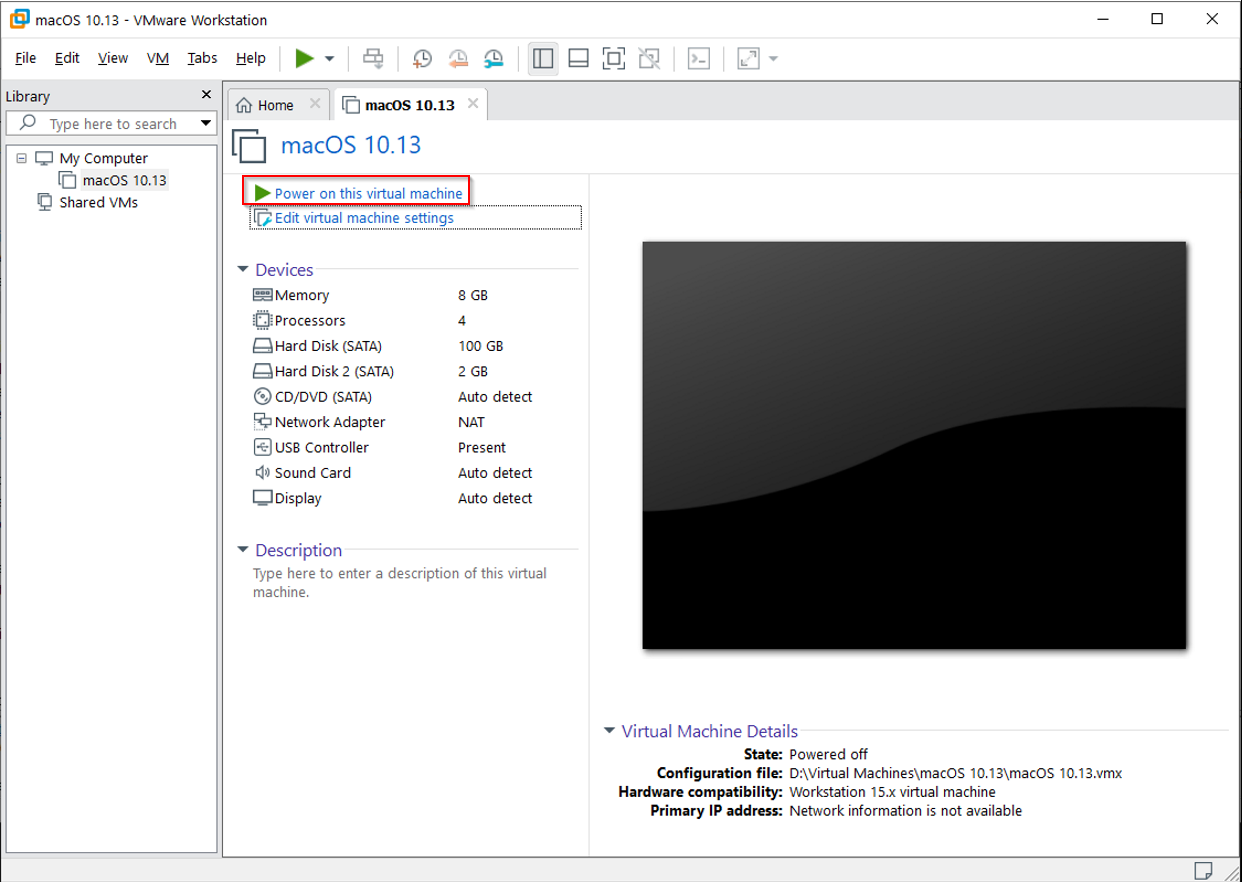
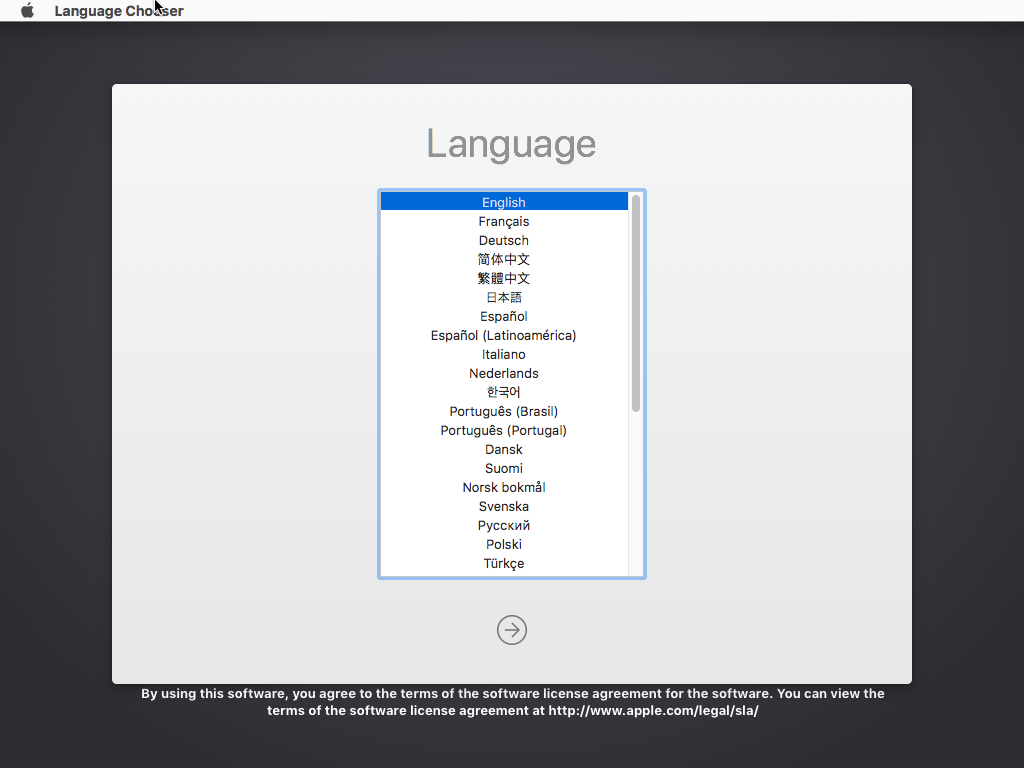
macOS installer will start to load

Select your language

Select the 100GB virtual disk - Erase

Name: Hard Drive
Format: Mac OS Extended (Journaled)
Scheme: GUID Partition Map

Quit Disk Utility when the erase has finished

8 Install macOS on the virtual machine
Reinstall macOS - Continue

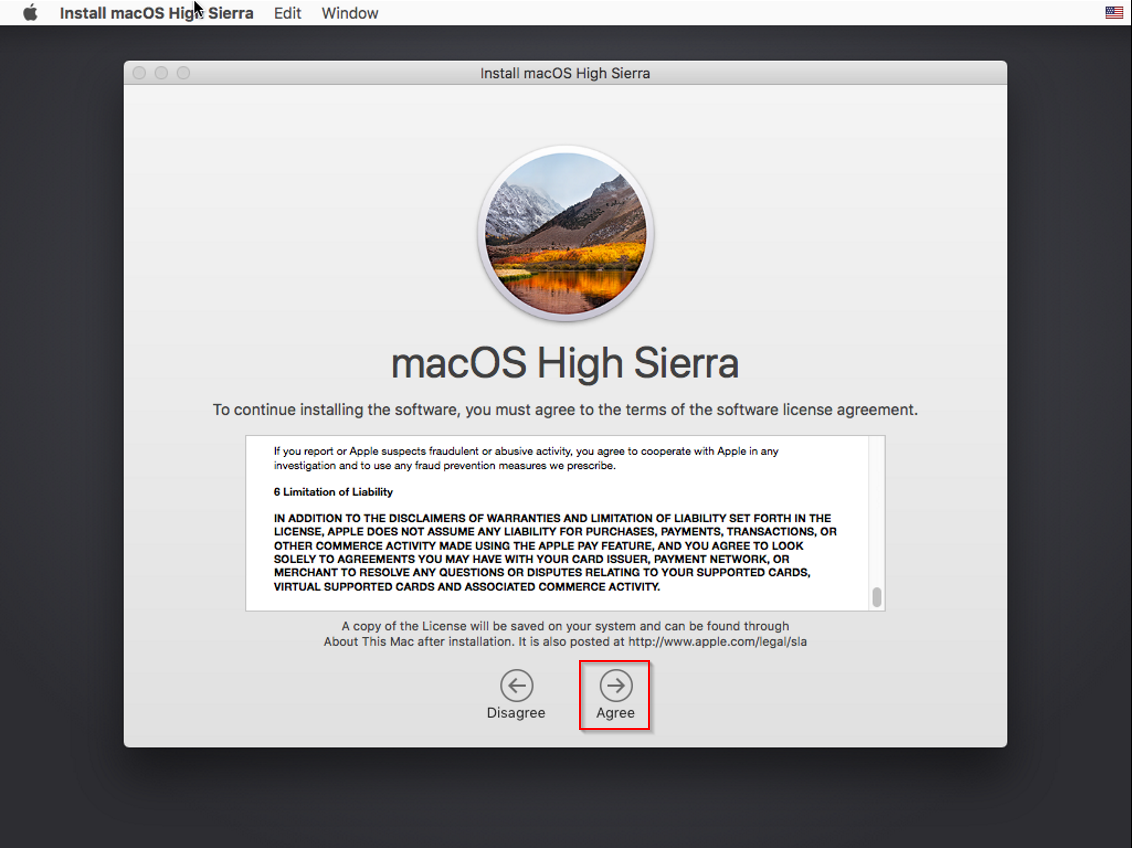
Install macOS - Continue

Agree to the license agreement
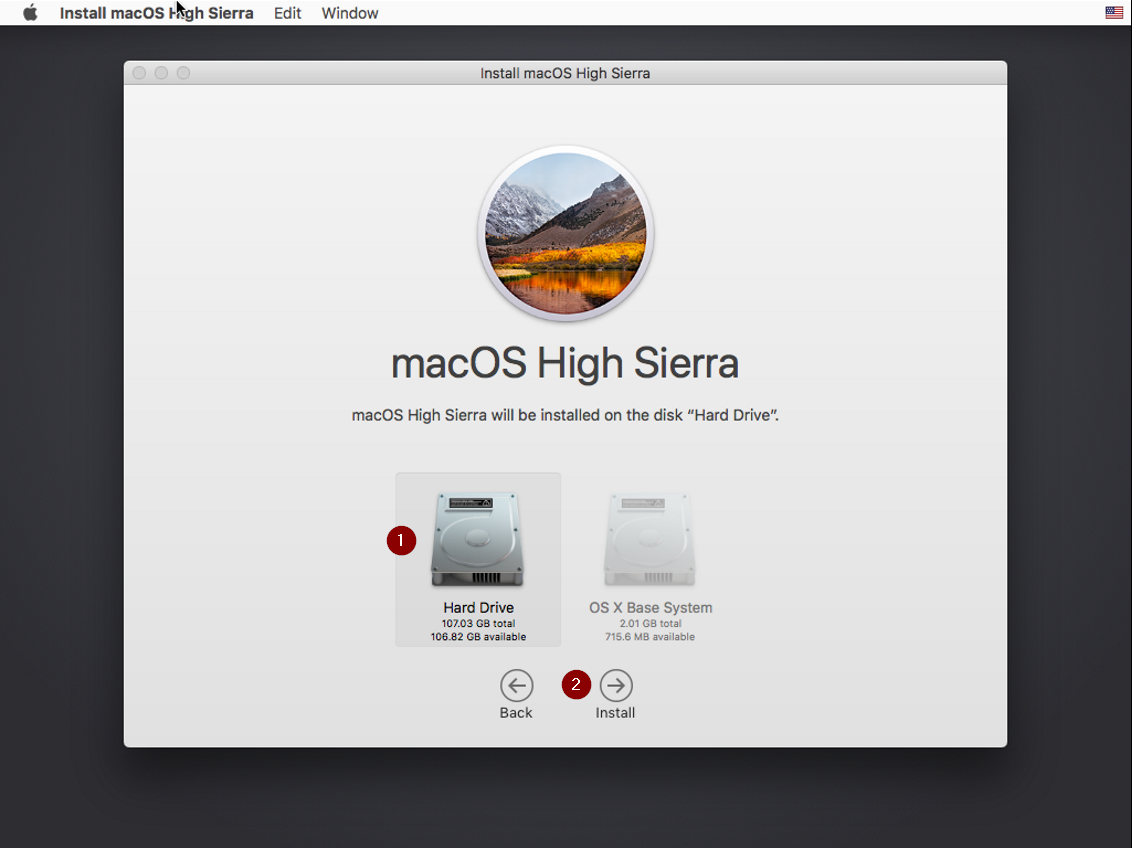
Select the 100GB Hard Drive then click Install
Complete macOS setup - choose your country, keyboard layout, enter Apple ID etc

Shutdown the VM

Edit the virtual machine settings and remove boot disk macos-recovery.vmdk

Power on the VM again and Install VMWare tools

Download VMWare tools for macOS darwin.iso
Download VMware tools for macOS darwin.iso
Install VMware Tools
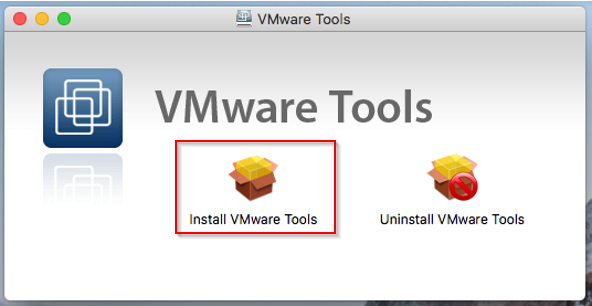
Continue

Install

Click Continue Installation and enter your password when prompted

Click the lock to make changes and enter your password again when prompted
System software from developer "VMWare" - click allow

Restart the Mac virtual machine after installing VMware tools


UPDATE 17/5/2022
Adding these notes to the article from the comments below as they might be useful for anyone trying to get a macOS VM working on AMD hardware. Thanks to everyone who took the time to comment and give feedback!Guest - Jerry on Friday, 15 April 2022 20:11
If you have problems when the apple logo appears a nothing happens for amd hardware add the following to the vmx file:
smc.version = "0"
cpuid.0.eax = "0000:0000:0000:0000:0000:0000:0000:1011"
cpuid.0.ebx = "0111:0101:0110:1110:0110:0101:0100:0111"
cpuid.0.ecx = "0110:1100:0110:0101:0111:0100:0110:1110"
cpuid.0.edx = "0100:1001:0110:0101:0110:1110:0110:1001"
cpuid.1.eax = "0000:0000:0000:0001:0000:0110:0111:0001"
cpuid.1.ebx = "0000:0010:0000:0001:0000:1000:0000:0000"
cpuid.1.ecx = "1000:0010:1001:1000:0010:0010:0000:0011"
cpuid.1.edx = "0000:0111:1000:1011:1111:1011:1111:1111"
smbios.reflectHost = "TRUE"
hw.model = "MacBookPro14,3"
board-id = "Mac-551B86E5744E2388"
Guest - Htom on Saturday, 30 April 2022 16:02
I was getting an error about "This virtual machine requires AVX2 but AVX is not present. This virtual machine cannot be powered on.".
I changed virtualHW.version in the .vmx to "10" to fix this. This apparently limits the USB to 2.x compatibility, but I can live with that.
It looks like by default VMWare sets USB compatibility to 1.1, and the VM did not recognize my USB mouse or keyboard.
Changing that to 2.x got those working.
The VM you end up with will also work with Linux VMWare WorkStation. You need the Linux VMWare unlocker (in the same zip file that has the Windows one).

Comments 113
Thanks, Colin. I have a draft guide for creating the macOS recovery disks. Hopefully, I will get time to publish it soon!
Hi, I have now published a guide for creating the recovery disks. Hope it helps!
https://techlabs.blog/categories/how-to-guides/create-a-vmware-vmdk-disk-image-file-for-installing-macos-high-sierra-mojave-catalina-on-vmware-workstation-on-windows
Many thanks for your efforts to create this guide/resources!
I was thinking about trying this but wanted to use the newly released Montery. If practical, would you mind updating this post with the Montery recovery image?
Hi, I have added links to the guide for Monterey VMDKs. Good luck!
Thanks for your excellent guide. I have installed Macos Big Sur. But I have problem with changing graphic memory. I tried editing vms file. But it was not working. Is there any other way to do that? Thanks again
Hi, I have published a guide with the steps to increase the VMs video memory.
https://techlabs.blog/categories/how-to-guides/solved-increase-video-memory-vram-for-a-macos-virtual-machine-running-on-vmware-workstation
Alright you taught me this, now how do I setup Paravirtualised Graphics? Garageband won't let me do anything as it doesn't detect a GPU.
Hi, I dont think Apple Paravirtualized GPU is supported when running VMware workstation on Windows. Please reply back to let me know if you got it working? Good luck!
Hi guys, It's Looping the apple logo, i am on AMD Cpu
i tried adding this
smc.version = "0"
cpuid.0.eax = "0000:0000:0000:0000:0000:0000:0000:1011"
cpuid.0.ebx = "0111:0101:0110:1110:0110:0101:0100:0111"
cpuid.0.ecx = "0110:1100:0110:0101:0111:0100:0110:1110"
cpuid.0.edx = "0100:1001:0110:0101:0110:1110:0110:1001"
cpuid.1.eax = "0000:0000:0000:0001:0000:0110:0111:0001"
cpuid.1.ebx = "0000:0010:0000:0001:0000:1000:0000:0000"
cpuid.1.ecx = "1000:0010:1001:1000:0010:0010:0000:0011"
cpuid.1.edx = "0000:0111:1000:1011:1111:1011:1111:1111"
smbios.reflectHost = "TRUE"
hw.model = "MacBookPro14,3"
board-id = "Mac-551B86E5744E2388"
it is not working tho
Hello,
Nice Article. I am trying to follow your steps but stuck on installation step. I am getting error No IAL update found. Getting below error.
https://ibb.co/RhV2TGT
Thanks
Nik
Just wondering if this is also applicable to VMWare Pro 16?
Yes worked like a charm
Yes, this guide also works using VMware Workstation 16. Thanks
This guide is just amazing, I can finally try a real OSX system.
The only thing, is that I don't have any network on the VM, so no internet.
Is there anything I can do to resolve this?
Thanks
In the VM settings. Try changing the network connection from NAT to Bridged. Hope that helps!
Thank you for this guide, I was able to install Big Sur with it. Therefor VirtualBox is capable to run Sierra only!
Hi, great tutorial I did the installation but the macOS is very slow I use 8GB ram for it, is there a way I can make it faster?
Hi, You will get the best performance if you use an SSD hard drive and allocate half of your physical computer's CPU and memory resources to the macOS VM. Hope that helps!
Hi, whatever I do, it says only 128M display and 1084X768 anyway to increase the display resolution
Hi, I have published a guide that answers this question. I hope this helps!
https://techlabs.blog/categories/how-to-guides/solved-increase-video-memory-vram-for-a-macos-virtual-machine-running-on-vmware-workstation