You can help support this website by buying me a coffee!

In this guide, we will create an Amazon S3 storage bucket so we can upload the custom Windows ISO file to Vultr
Products - Objects - Add object storage

Select location - Add

Open Object storage

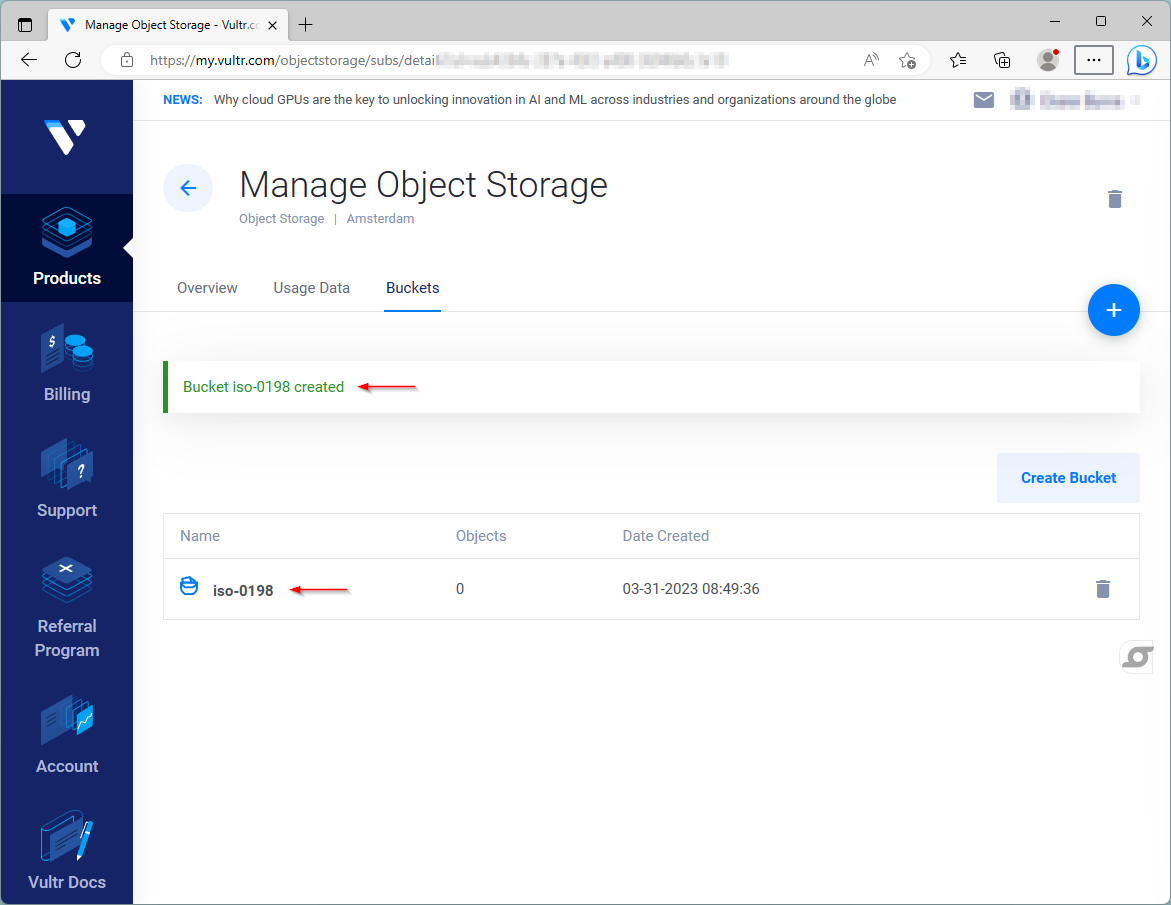
Buckets - Create Bucket
Enter a name for your storage bucket

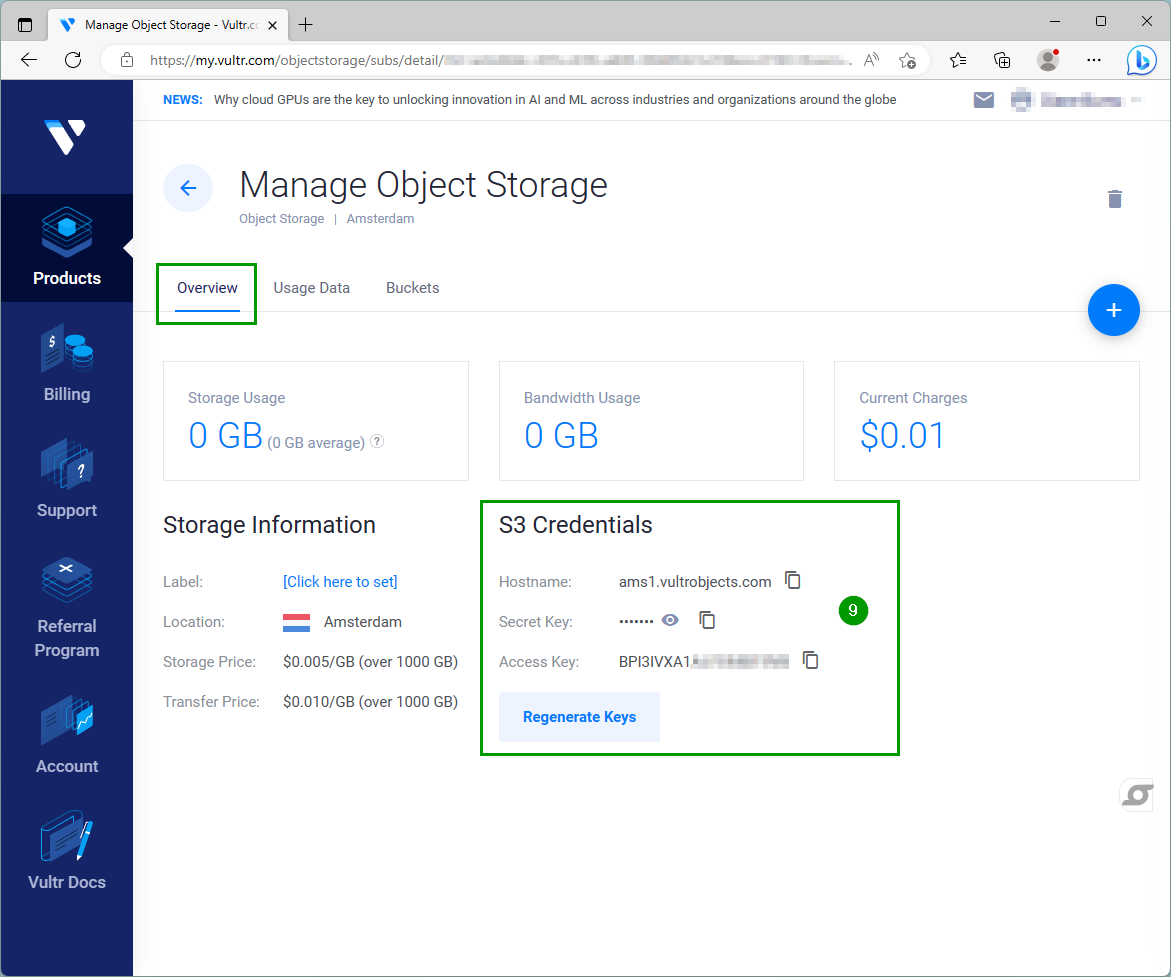
Copy the S3 Credentials: Hostname, secret key and access key
Upload custom Windows 10 ISO file to S3 storage bucket using WinSCP
Download WinSCP
https://winscp.net/eng/download.php
Connect to S3 bucket using WinSCP
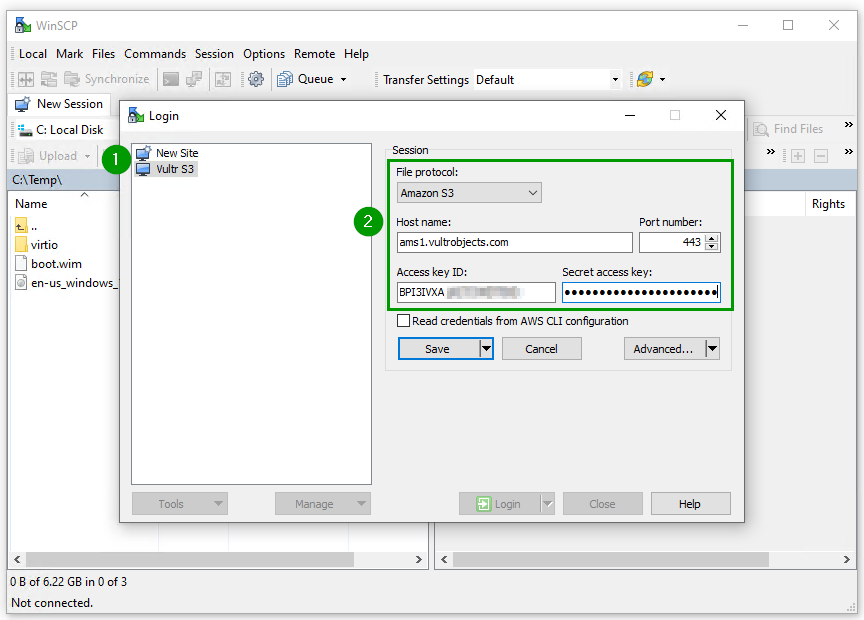
Open WinSCP - New site
File protocol: Amazon S3
Host name: YOUR-HOSTNAME
Port number: 443
Access key ID: YOUR-ACCESS-KEY
Secret access key: YOUR-SECRET-KEY
Upload custom Windows ISO to storage bucket

Allow public access to the ISO file
Object Storage - Buckets - open bucket
Change access

Current permission - Enabled
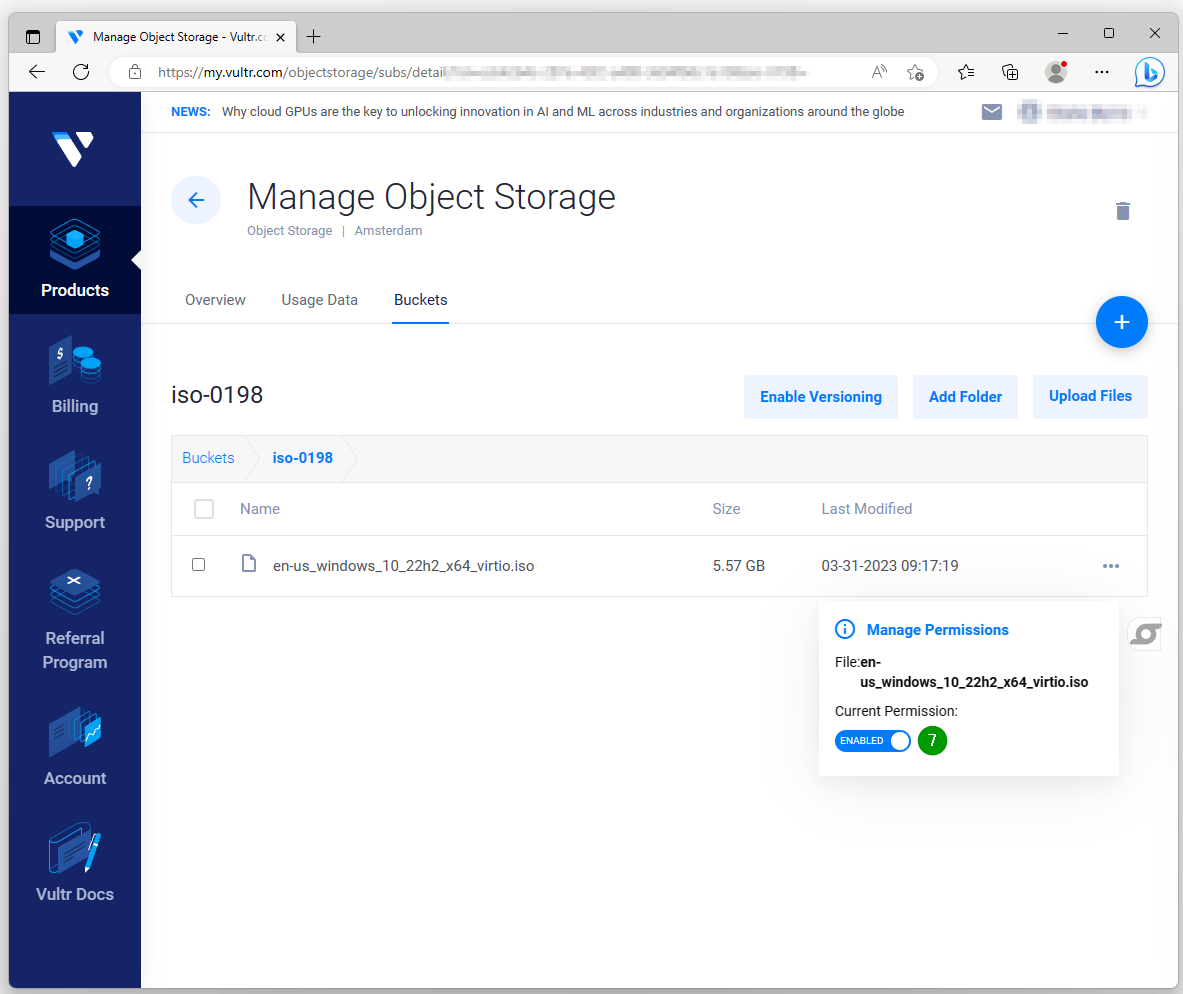
Windows ISO - Copy URL
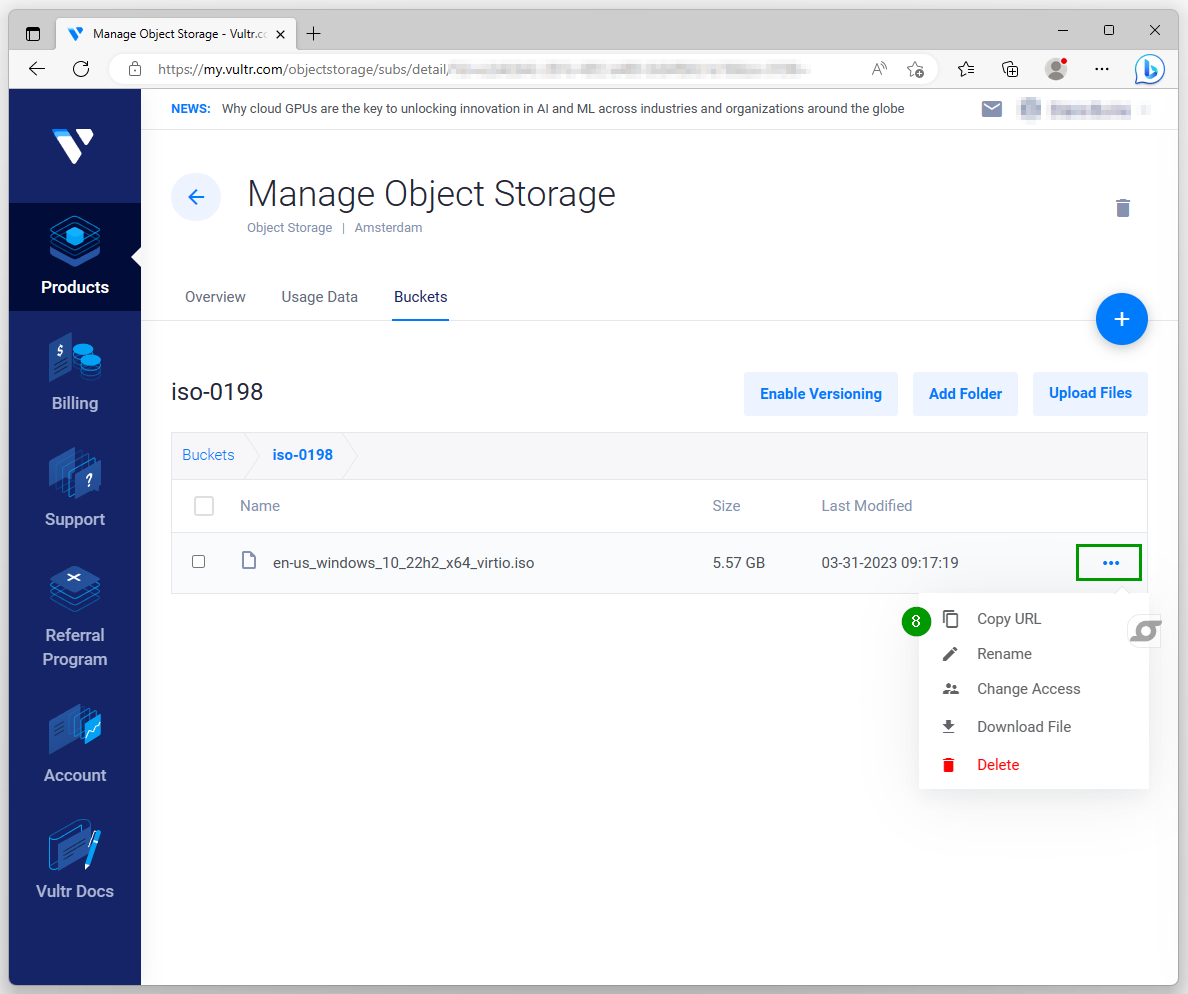
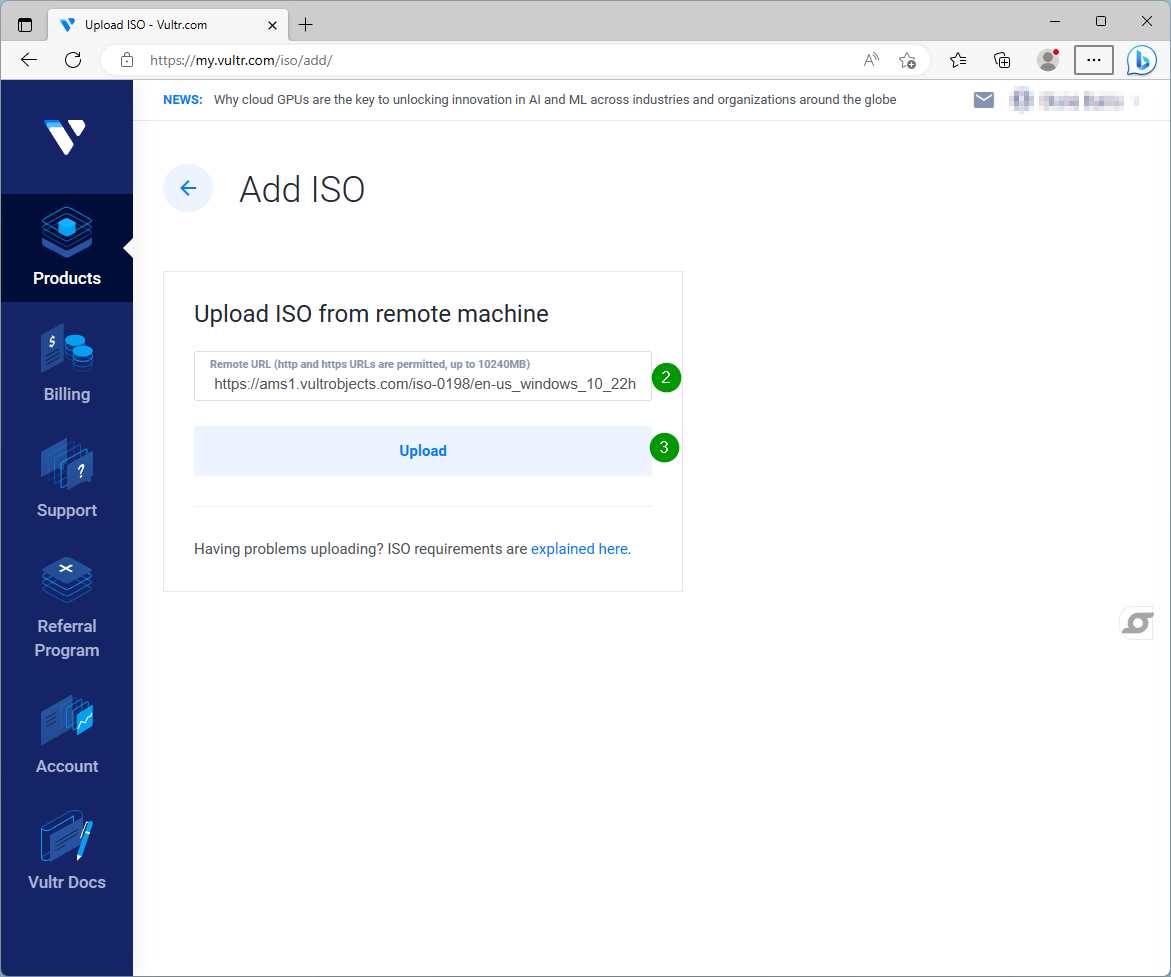
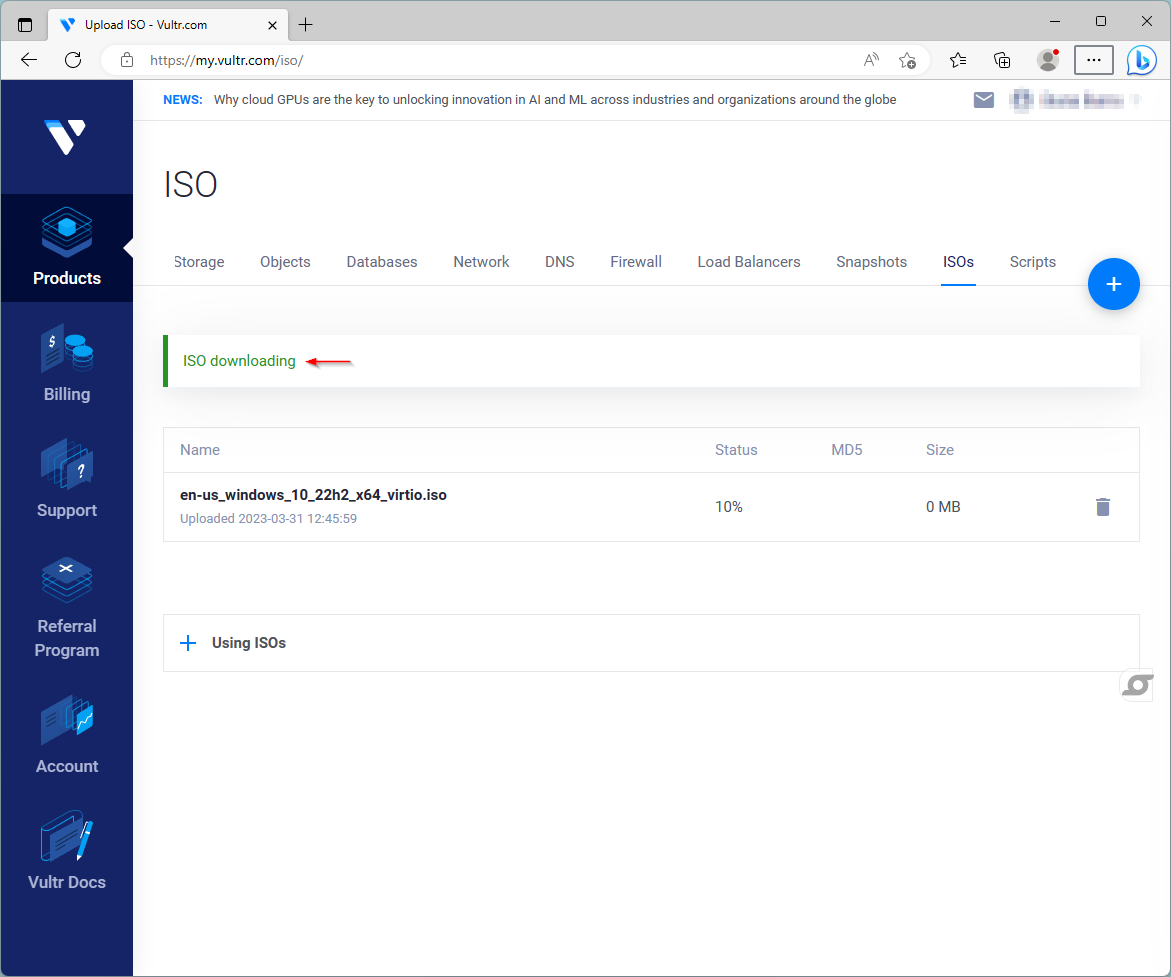
ISOs - Add iso

Paste URL of ISO file in storage bucket
Click Upload
References:
by Author
Vultr Object Storage
https://www.vultr.com/docs/vultr-object-storage
How to Upload Custom ISOs to Vultr
https://www.vultr.com/docs/requirements-for-uploading-an-os-iso-to-vultr
Comments