You can help support this website by buying me a coffee!

Step by step guide for admins on how to configure DKIM in Office 365. Configure DKIM using PowerShell, publish DNS CNAME records and verify DKIM is signing message headers
Domain Keys Identified Mail (DKIM) is used to encrypt emails and digitally sign message headers using a pair of DKIM keys. The DKIM signature can be used to verify that the email message hasn't been modified. Implementing DKIM improves your email security by protecting messages and allowing mail servers to check that emails were sent by your authorized domain.
Microsoft Admin Center
https://admin.microsoft.com
Exchange Admin Center
Protection - DKIM
Status - DKIM not enabled

Office 365 Security & Compliance Center
https://protection.office.com
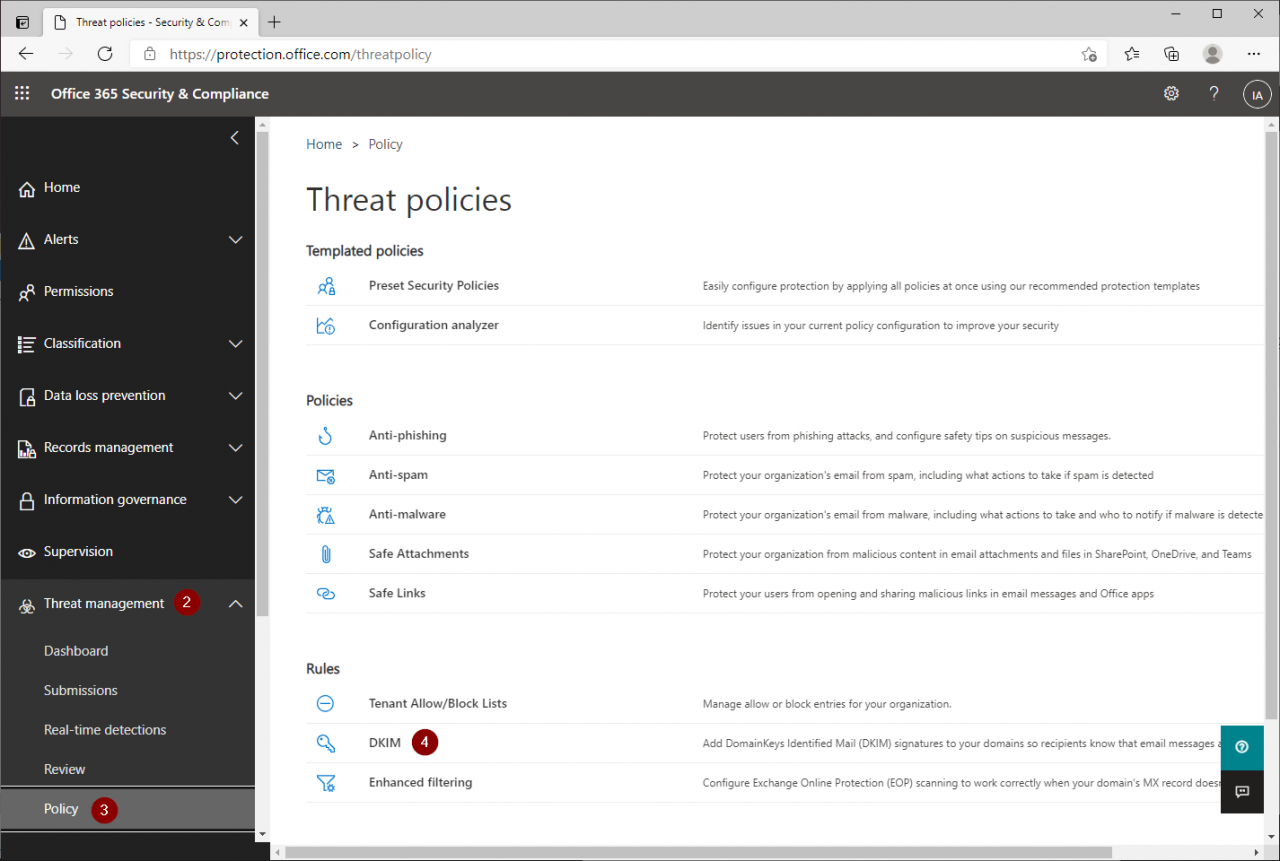
Threat management - Policy - DKIM
Select domain
DKIM is not enabled

Connect to Exchange online PowerShell
New-DkimSigningConfig -Domain planetexpress.live -Enabled $true
WARNING: The config was created but can't be enabled because the CNAME records aren't published. Publish the following two CNAME records, and then enable the config by using Set-DkimSigningConfig.
selector1-planetexpress-live._domainkey.planetexpresslive.onmicrosoft.com
selector2-planetexpress-live._domainkey.planetexpresslive.onmicrosoft.com

selector1._domainkey
selector1-yourdomain-com._domainkey.tenantdomain.onmicrosoft.com
Example
selector1._domainkey
selector1-planetexpress-live._domainkey.planetexpresslive.onmicrosoft.com


Check the CNAME record has updated with MX toolbox

Once the DNS changes have propagated you will get the option to enable DKIM in the Security & Compliance Admin Center
Threat management - Policy
Select your domain - Sign messages for this domain

Or you can enable DKIM signing using PowerShell
Check the DKIM signing configuration
Get-DkimSigningConfig -Identity planetexpress.live

Enable DKIM signing
Set-DkimSigningConfig -Identity planetexpress.live -Enabled $true

DKIM has been enabled

5 Check DKIM configuration
MX Toolbox DKIM Record Lookup
You can use MX toolbox to check your DKIM records

DKIM checks completed OK

Check email message headers
You can verify that DKIM signing is enabled by checking the email message headers

You can also use Google message Header Analyzer to check DKIM
Google Admin Toolbox Messageheader
https://toolbox.googleapps.com/apps/messageheader/analyzeheader

Comments