You can help support this website by buying me a coffee!

How to install and configure Veeam backup for Office 365. Configure a backup repository, add an Office 365 organization and register a new Azure AD application, setup email alerts.
Steps to install and configure Veeam Backup for Office 365
Register an account on the Veeam website to download a one month trial of Veeam backup for Office 365 or the free Community Edition
Veeam Backup for Office 365 Community EditionInstall Veeam backup for Office 365
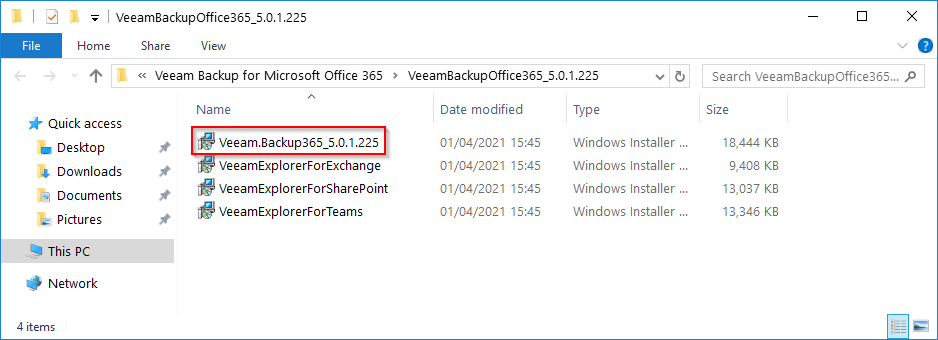
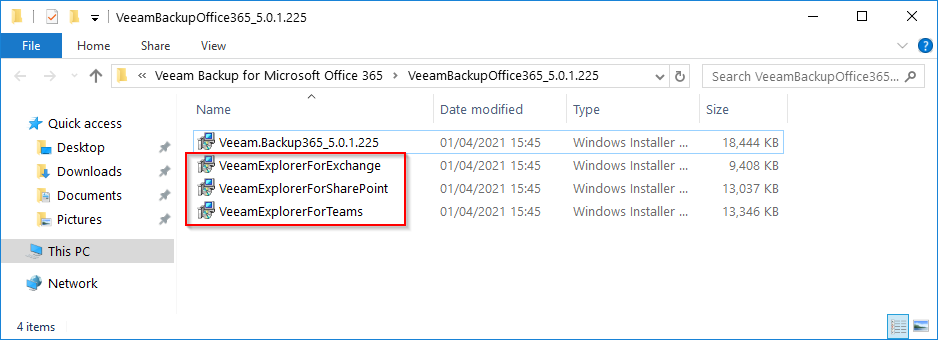
Download Veeam backup for Office 365, extract the zip file and run the Veeam backup installer
Veeam.Backup365_5.0.1.225.msi
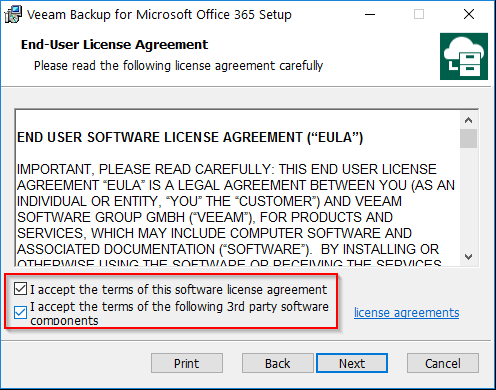
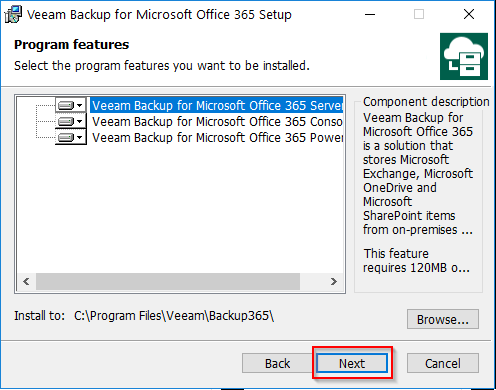
Next

Tick to accept the license agreements
Select all Veeam components
In this example, we are installing Veeam on a server so we'll select all the components
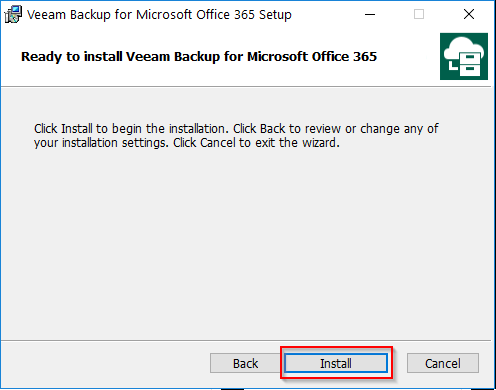
Install
Finish

Install Veeam Explorers
Install the Veeam Explorers for Exchange, SharePoint and Teams that are included in the download
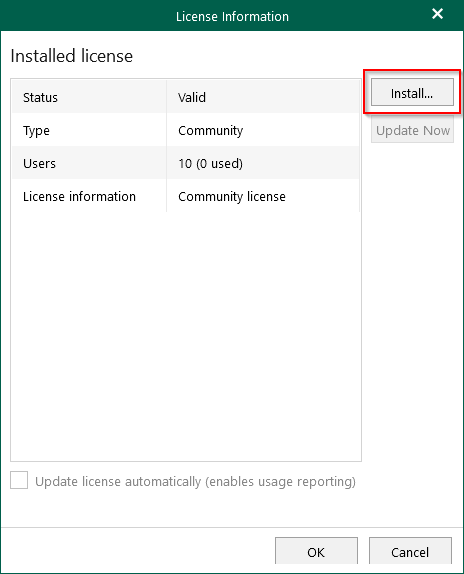
Install Veeam License
If you are using the free Veeam backup for Office 365 community edition, you don't need to install a license
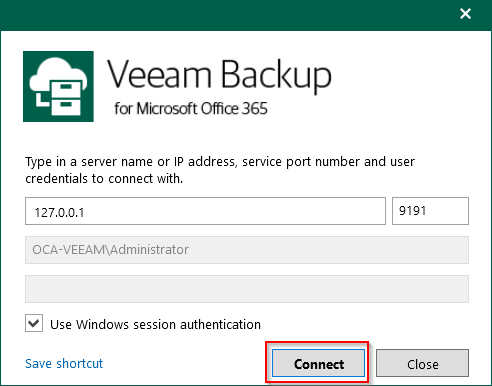
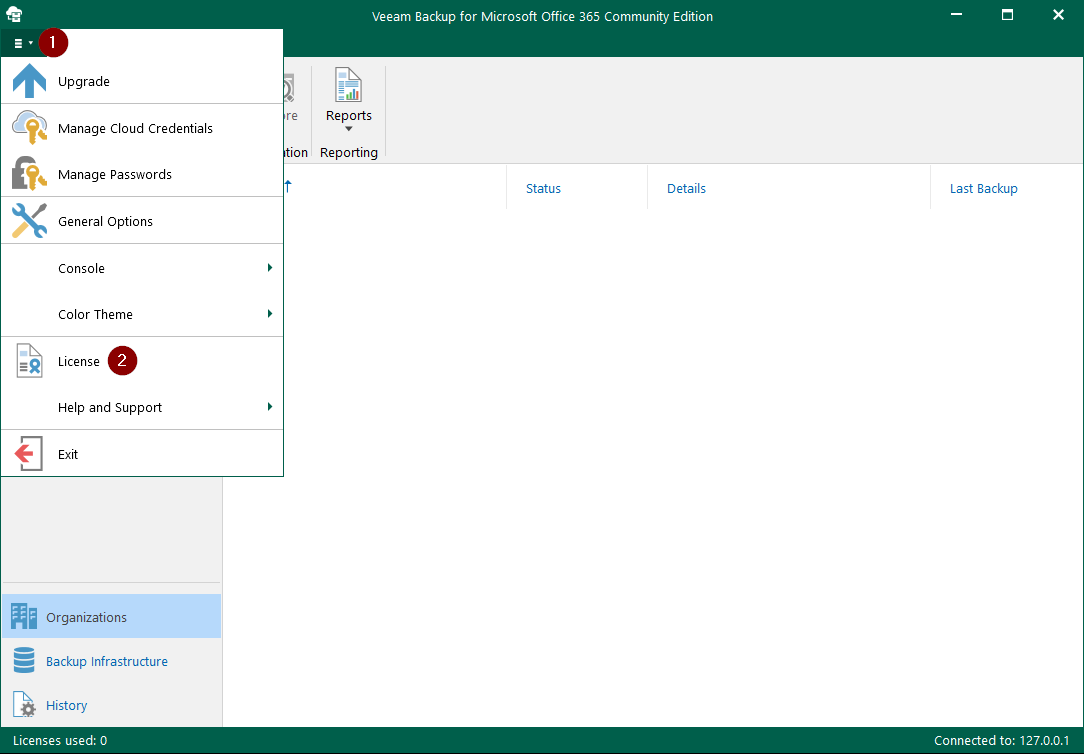
Open Veeam Backup for Microsoft Office 365
Menu - License
Click install and browse to select your license file
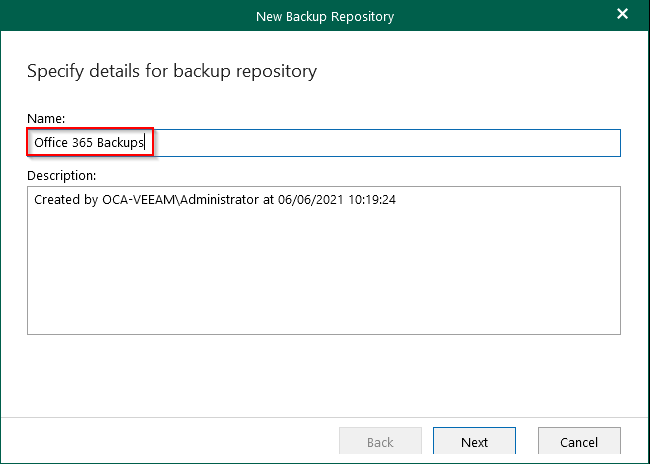
Add a backup repository
Backup Infrastructure - Backup Repositories - Add Repository

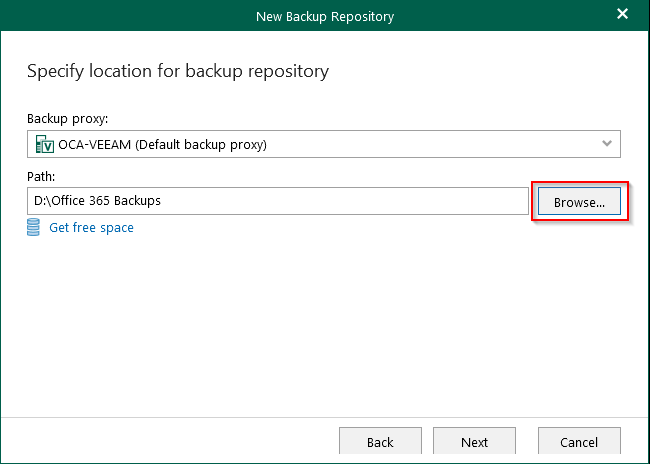
In this example, the backup repository is a local folder on the Veeam server's D drive called "Office 365 Backups"
Backup repository name: Office 365 Backups
Browse to select the repository
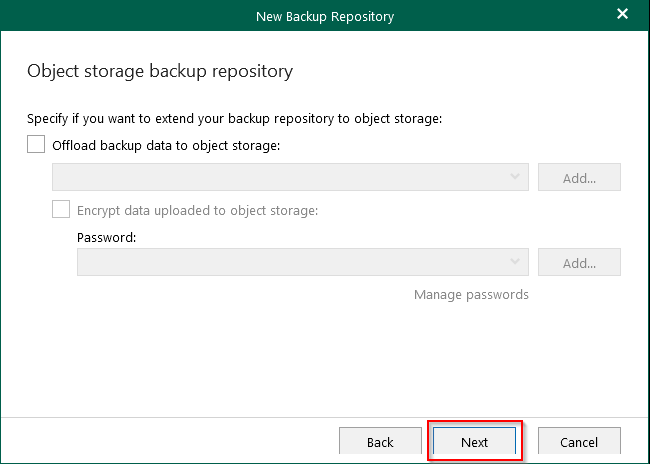
In this example, we're not using an Object storage backup repository. You can read more about this feature in the Veeam docs
Specify Object Storage Repository
https://helpcenter.veeam.com/docs/vbo365/guide/new_repository_3.html
Leave default settings - Next
Specify retention policy settings e.g. 1 year

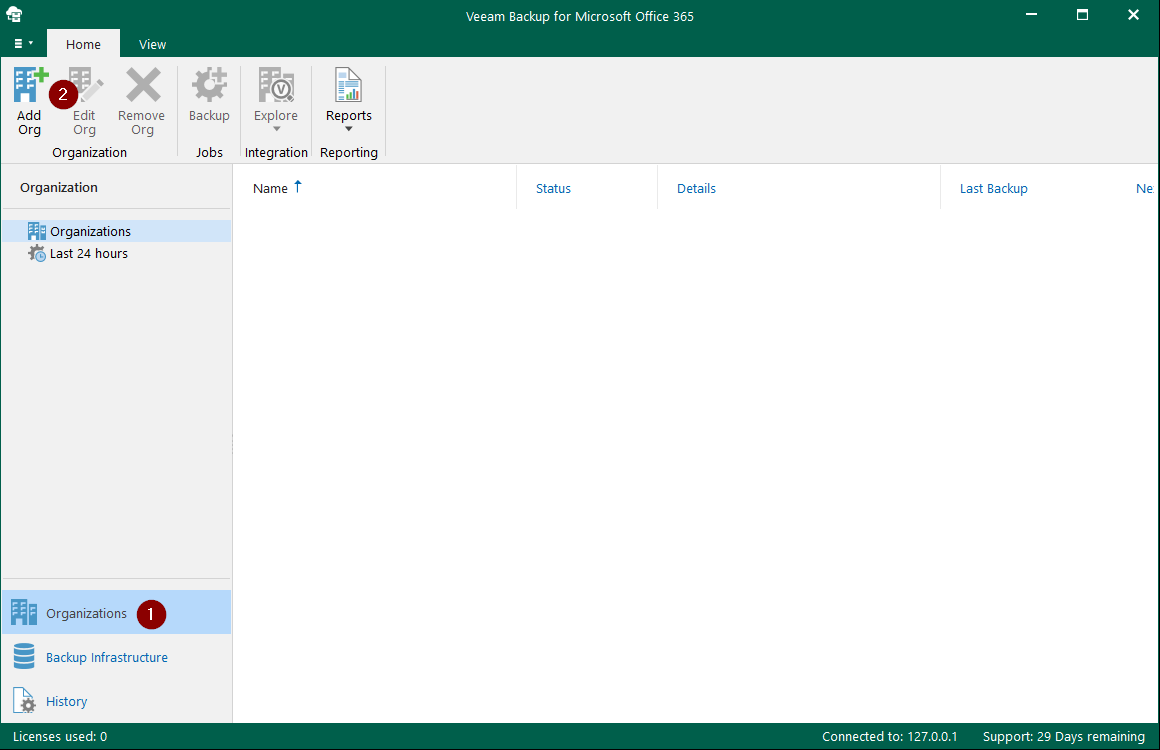
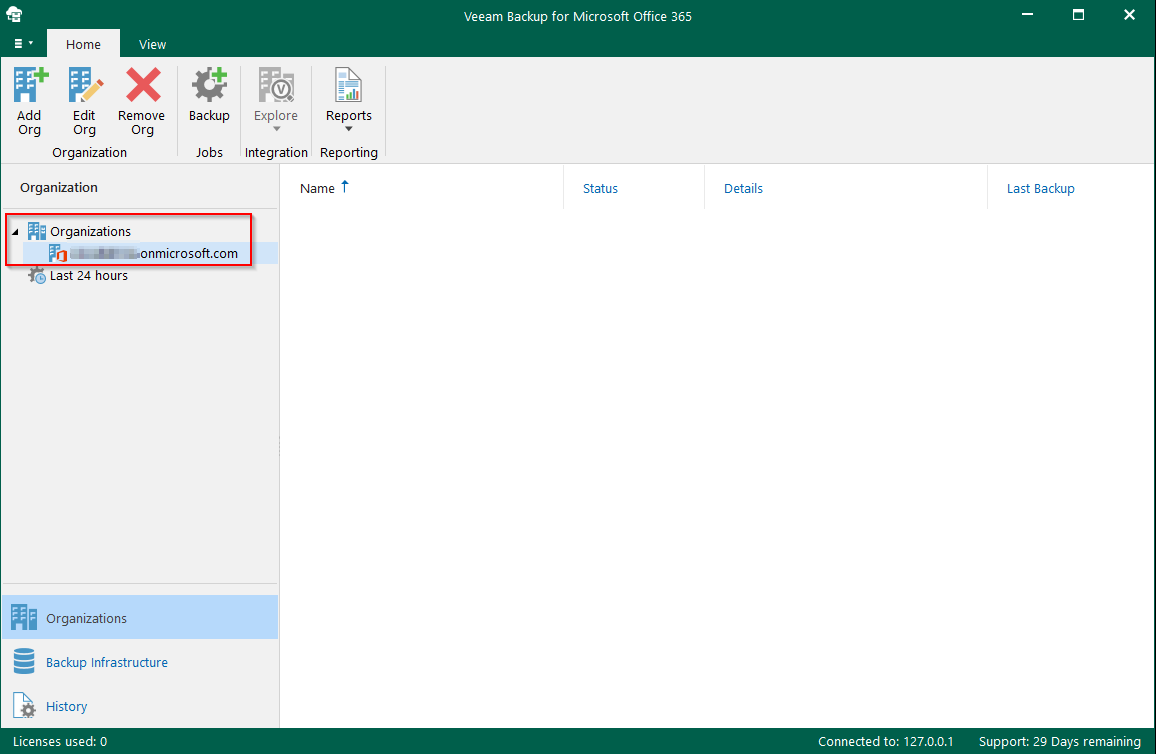
Organizations - Add Org
Select organization deployment type: Microsoft Office 365
Select the services you want to protect - leave default settings

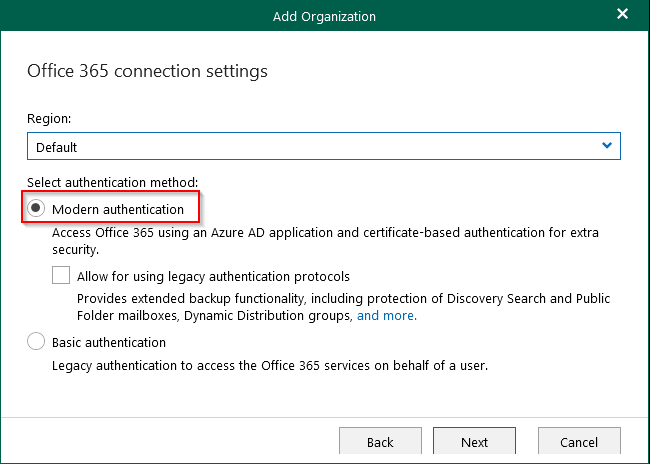
Office 365 connection settings
Leave default settings
Region: Default
Authentication method: Modern authentication
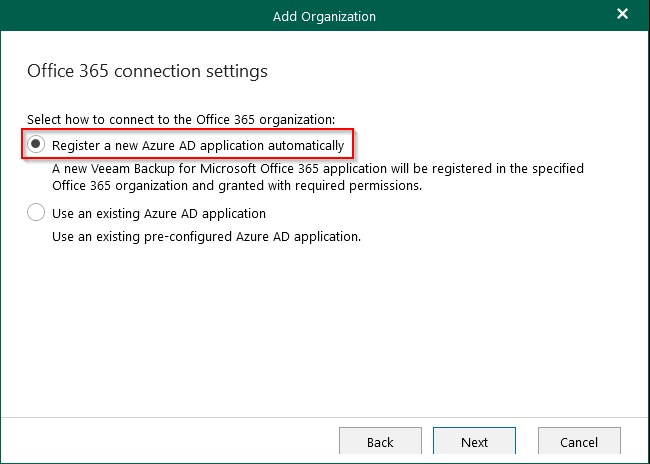
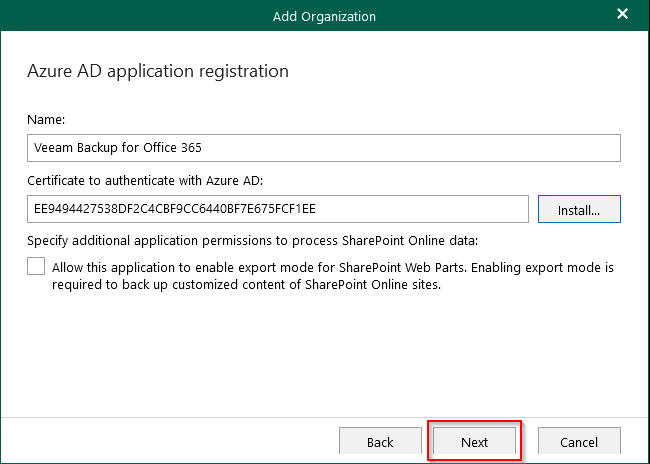
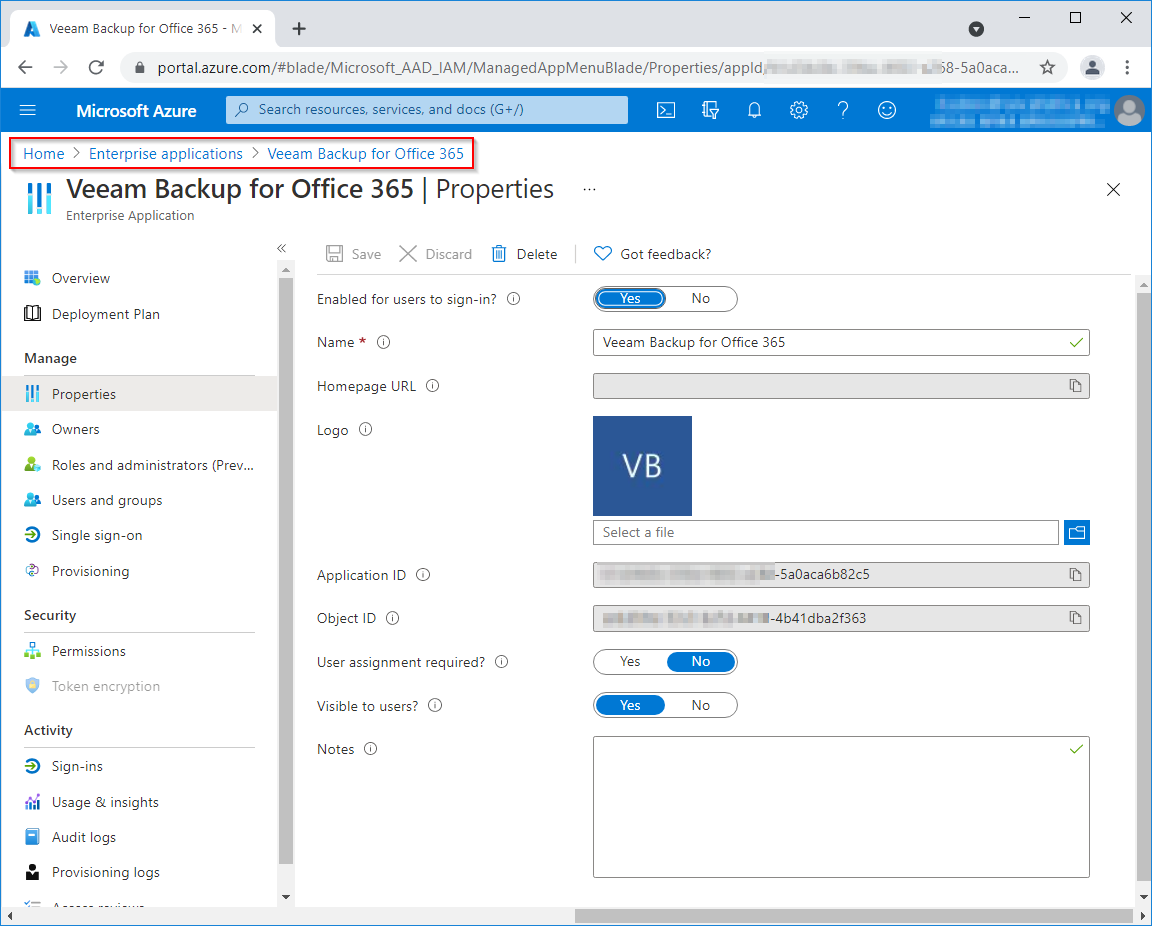
Register a new Azure AD application automatically
Name: Veeam Backup for Office 365
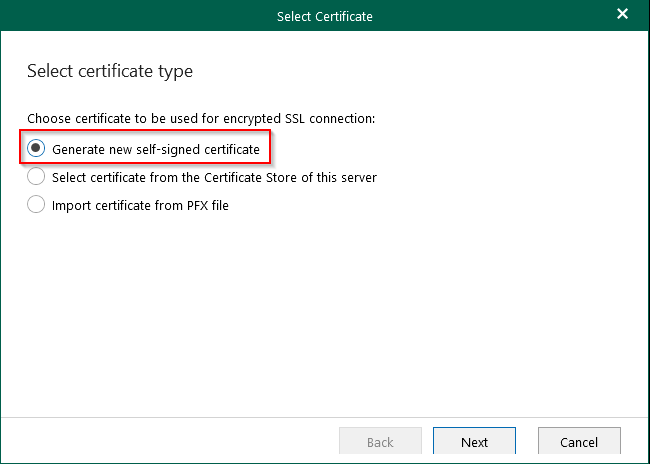
Certificate to authenticate with Azure AD - click Install

Generate new self-signed certificate
Certificate friendly name: Veeam Software Group GmbH certificate
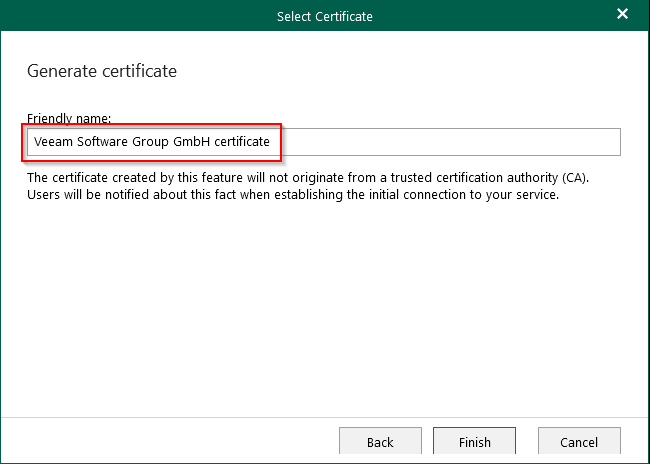
Azure AD application registration - Next
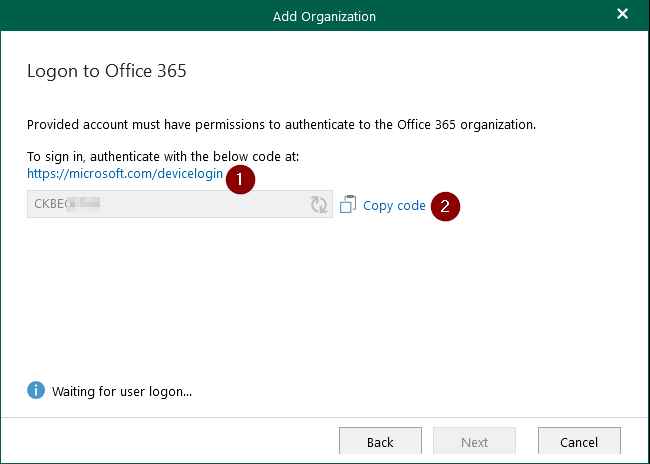
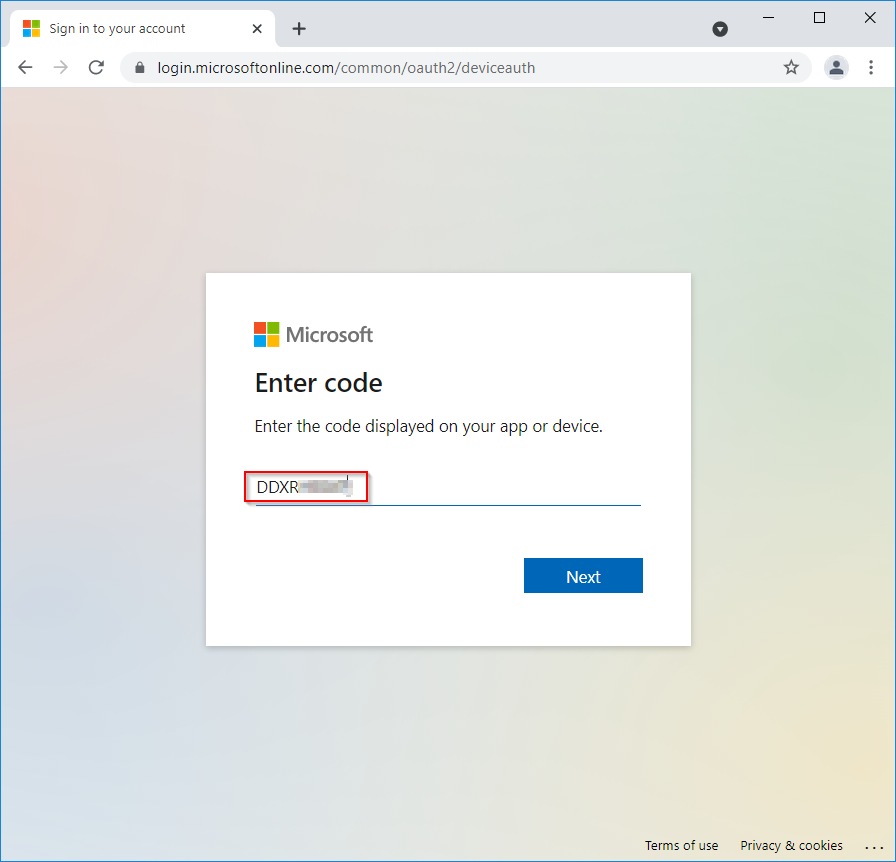
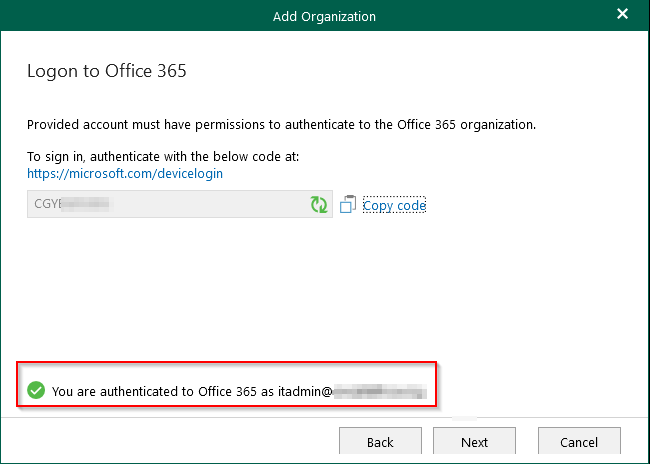
Open the website link and enter the code
Sign in with your Office 365 credentials when prompted
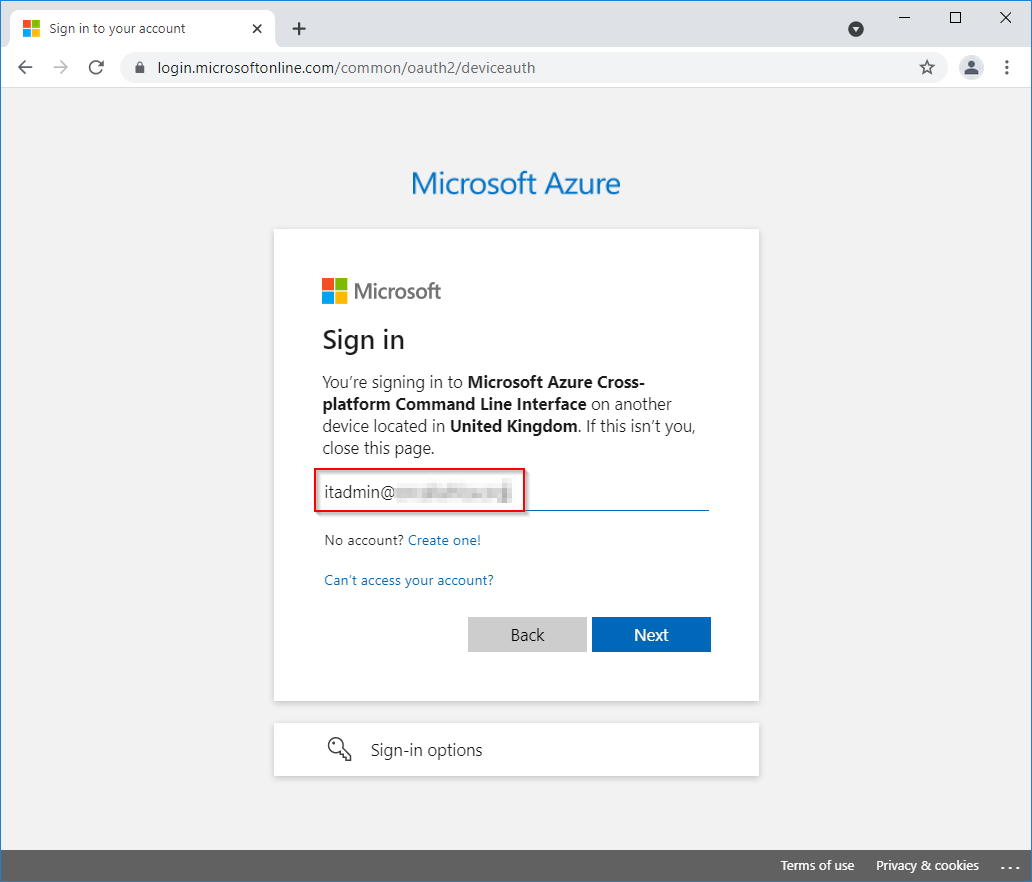
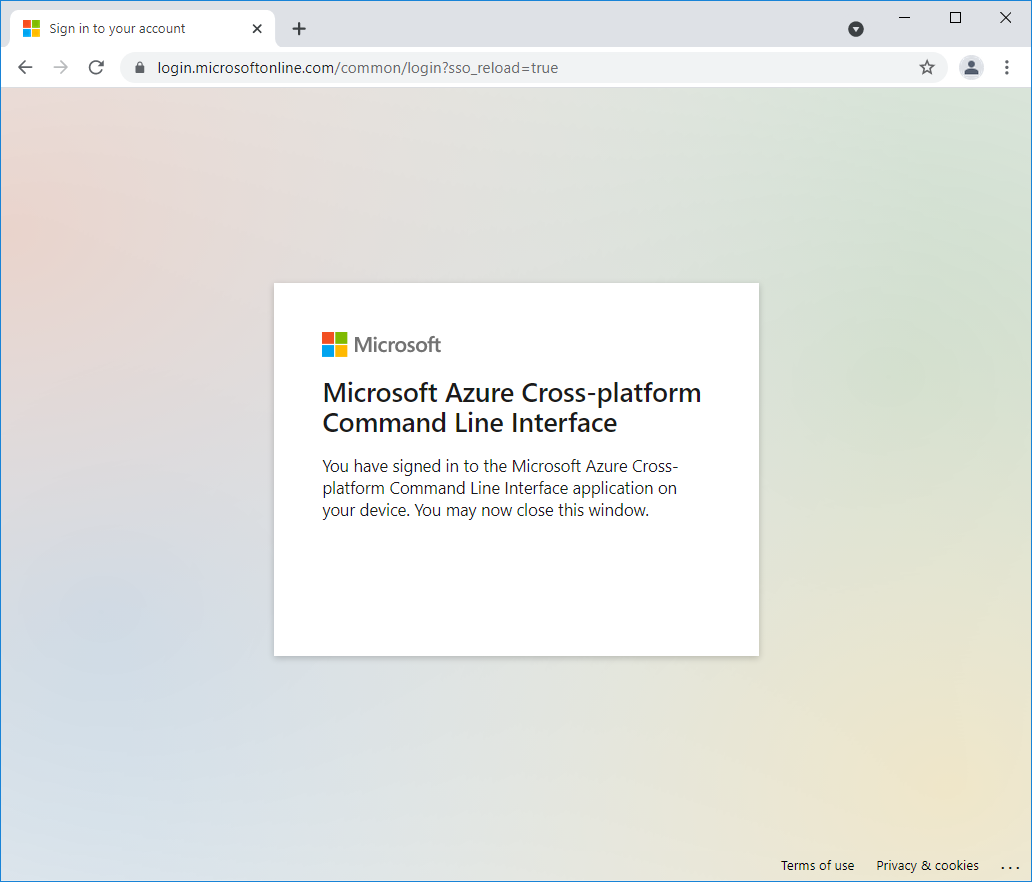
You have now authenticated to Office 365
Click Next
Finish

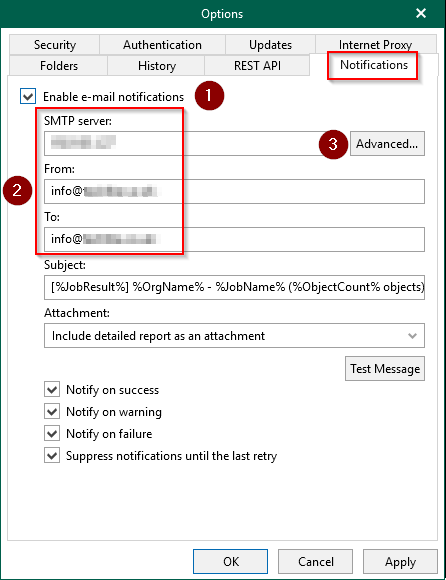
Set up email alerts
Menu - General Options

Notifications
Tick Enable e-mail notifications
Enter the SMTP server address, From and To email addresses
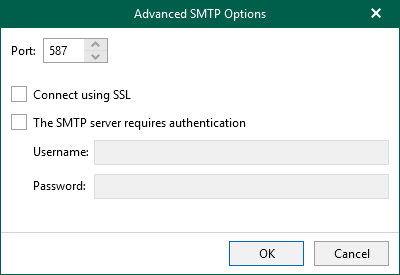
Click Advanced to change mail server port and authentication settings
Advanced SMTP options
Send a test message to check the email settings are correct
Once the initial backup jobs have completed and everything is working OK, you might want to untick notify on success

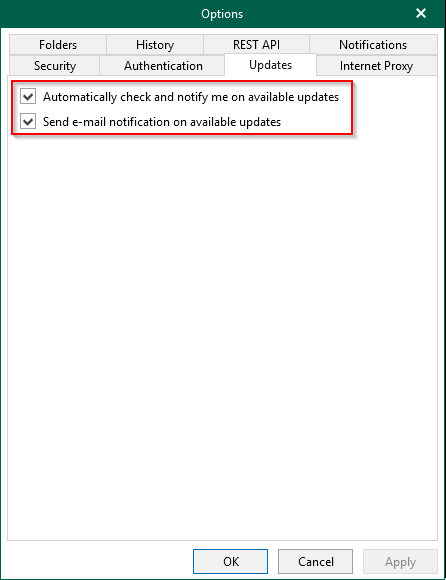
Menu - Options - Updates
Tick both of these options:
Automictically check and notify me on available updates
Send e-mail notification on available updates
References
Installing Veeam Backup for Microsoft Office 365
https://helpcenter.veeam.com/docs/vbo365/guide/vbo_installing_vbo.htmlMicrosoft Office 365 Organizations
https://helpcenter.veeam.com/docs/vbo365/guide/vbo_add_office365_org.htmlVeeam Backup for Microsoft Office 365 Community Edition
by Author
https://www.veeam.com/free-backup-microsoft-office-365.html
Comments